Understanding the Benefits of Ductless Systems in Denver
A mini split install involves mounting an indoor air handler on your wall, positioning an outdoor condenser unit, and connecting the two through a small hole in your wall with refrigerant lines and electrical wiring. Here is a quick overview of the process:
- Mount the indoor bracket on an interior wall at the correct height
- Drill a wall penetration at a slight downward angle for lines and drainage
- Route the lineset from the indoor unit through the wall to the outside
- Connect the indoor unit to the lineset and electrical wiring
- Position the outdoor condenser on a pad or wall bracket with proper clearance
- Vacuum the refrigerant lines to remove moisture and air
- Power on and test all heating and cooling modes
Ductless mini split systems have become one of the most popular home comfort upgrades in the Denver Metro area — and for good reason. They deliver zoned heating and cooling without ductwork, operate quietly, and can maintain reliable heat even when outdoor temperatures drop well below zero. Whether you are cooling a single room in Aurora or upgrading an older home in Littleton that was never built for central air, a mini split gives you precise control over your comfort without tearing up walls or ceilings.
That said, getting the installation right matters more than most homeowners expect. From proper sizing and electrical requirements to refrigerant handling and local permits, each step of the process has real consequences for system performance, energy efficiency, and your warranty coverage.
I'm Mike Townsend, a U.S. Army veteran whose military service included managing precision cooling systems for heat-seeking missile technology — experience that translates directly into the detail and discipline required for a proper mini split install. That background, combined with decades in the home services industry, shapes how our team at Veteran Heating, Cooling, Plumbing & Electric approaches every installation across the Denver Metro area.

As we move through April 2026, the shift toward ductless technology continues to accelerate. The magic behind a mini split install lies in its inverter technology. Unlike traditional systems that operate like a light switch—either 100% on or completely off—a mini split uses a variable-speed compressor. This allows the system to adjust its output in real-time, maintaining a steady temperature while using a fraction of the energy.
For homeowners in the Denver Metro area, this means saying goodbye to the "blast of cold air" followed by minutes of silence and rising humidity. Instead, you get a consistent, gentle flow of conditioned air. This is particularly helpful in our dry Colorado climate where maintaining indoor air quality is a top priority.
One of the greatest advantages we see when performing a Mini Split AC Denver CO is zoned comfort control. If you spend most of your time in the home office or the master bedroom, why pay to cool the entire house? Ductless systems allow you to heat or cool only the rooms you are using, which can significantly reduce your monthly utility bills.
I'm looking for efficient cooling in Aurora. Why is a mini split install the best choice?

If you are a homeowner in Aurora or Broomfield, you know that our weather is anything but predictable. We can have a 70-degree day followed by a blizzard. This is where high-efficiency mini splits shine. Some premium models, like the Carrier Infinity® series, achieve up to a 35.1 SEER2 rating. To put that in perspective, many older central AC units in our area are lucky to hit a SEER rating of 10 or 12.
When you choose a mini split install, you aren't just getting an air conditioner; you're getting a powerful heat pump. Modern "cold-climate" mini splits are engineered to handle the Front Range winters. Many of the systems we install can maintain 70% or more of their heating capacity even when it’s 5°F outside, with some units rated to provide heat down to -22°F.
| Feature | Ductless Mini Split | Central Air Conditioning |
|---|---|---|
| Ductwork Required | No | Yes |
| Energy Efficiency | Up to 35+ SEER2 | Typically 14-20 SEER2 |
| Zoned Control | Standard per unit | Requires expensive dampers |
| Installation Time | 4–8 hours (Single Zone) | 1–3 days |
| Noise Level | Ultra-quiet (40-60 dB) | Louder (70-90 dB) |
When doing a Central AC vs Ductless Mini Split Comparison, the mini split often wins for older Denver homes because it avoids the "duct loss" that plagues central systems. Traditional ducts can lose up to 25% of their cooling power through leaks and poor insulation in the attic or crawlspace. With a mini split, the cooling happens right in the room, so no energy is wasted.
Preparing Your Home: Sizing, Location, and Electrical Needs
Before we even pick up a drill for a Mini Split Installation Centennial CO, we have to get the math right. Sizing a mini split isn't just about square footage; we have to account for ceiling height, window placement, and how well the room is insulated.
The standard measurement is the BTU (British Thermal Unit). In the HVAC world, 12,000 BTUs equals one "ton" of cooling capacity. A common mistake we see is "over-sizing"—installing a unit that is too powerful for the room. This leads to "short-cycling," where the unit turns on and off so fast that it never has a chance to dehumidify the air, leaving your room feeling cold but clammy.
Choosing the Right Location:
- Indoor Unit: Should be mounted at least 7 feet off the floor on an exterior wall if possible. This makes drainage much easier. Avoid placing it directly above electronics or in a spot where furniture will block the airflow.
- Outdoor Unit: Needs at least 12 inches of clearance on all sides to "breathe." In Colorado, we also recommend elevating the unit on a stand or wall bracket to keep it above the snow line.
Electrical Requirements for a Safe mini split install
You can't just plug a high-powered HVAC system into a standard wall outlet. A proper mini split install requires a dedicated electrical circuit. Most systems we install in Highlands Ranch and Lakewood run on 230V power.
This involves running a new line from your main electrical panel to an outdoor disconnect box near the condenser. Because this involves high-voltage wiring and must comply with local Denver Metro electrical codes, this is a part of the job that truly requires a professional touch. Improper wiring isn't just a fire hazard; it can fry the sensitive inverter boards inside your new unit, which are very expensive to replace.
The Step-by-Step Process: How to Mini Split Install in 7 Simple Steps
Whether we are working in a historic home in Golden or a new build in Castle Rock, our process remains disciplined and precise. Here is how we handle a professional Mini Split AC Golden CO installation.
Step 1: Mounting the Indoor Bracket
We use a stud finder to ensure the mounting plate is secured to the home's framing. It must be perfectly level; if the unit is tilted even slightly, the condensation won't drain correctly, leading to water dripping down your interior wall.
Step 2: The Wall Penetration
We drill a hole (usually 2.5 to 3 inches in diameter) through the wall. The secret here is drilling at a slight downward angle toward the outside. This allows gravity to pull the condensation away from your home.
Step 3: Routing the Linesets
The lineset consists of two copper pipes for refrigerant, a communication cable, and a drain hose. We bundle these together and carefully feed them through the wall hole. We take great care not to "kink" the copper lines, as a single sharp bend can restrict refrigerant flow and kill the system’s efficiency.
Step 4: Indoor Unit Connection
We secure the indoor unit to the bracket and make the flare connections for the copper tubing. Using a torque wrench is non-negotiable here; over-tightening can crack the brass fittings, while under-tightening leads to refrigerant leaks.
Step 5: Outdoor Unit Placement
We set the condenser on a level pad or a secure wall bracket. We ensure there is plenty of room for airflow and that the unit isn't placed directly under a roof valley where snow and ice could fall on it during a Centennial winter.
Step 6: Vacuuming the Lines
This is the most critical technical step. We use a vacuum pump to remove all air and moisture from the copper lines. We monitor this with a micron gauge, looking to reach a vacuum of 500 microns or less. If moisture is left in the lines, it can turn into acid when mixed with refrigerant, destroying the compressor from the inside out.
Step 7: Power and Testing
Once the lines are verified leak-free, we release the refrigerant into the system. We then test every mode—cooling, heating, and dry mode—checking the temperature "delta" (the difference between air going in and air coming out) to ensure peak performance.
Essential Tools for a Successful mini split install
If you're considering a DIY approach, be aware that the tool list is extensive. You won't find most of these in a standard home toolbox:
- Hole Saw: For the 3-inch wall penetration.
- Vacuum Pump & Manifold Gauges: To evacuate the system.
- Micron Gauge: To ensure all moisture is removed.
- Torque Wrench: Specifically for HVAC flare nuts.
- Nitrogen Tank & Regulator: For pressure testing the lines.
- Flaring Tool: To create the connections on the copper tubing.
Professional vs. DIY: Protecting Your Warranty and Safety
It is tempting to look at a mini split install as a weekend project. However, there are several "invisible" risks. First is the legal requirement: handling refrigerant requires EPA 608 certification. Federal law carries heavy fines for the improper release of refrigerants into the atmosphere.
Second is your warranty. Most major manufacturers, including those we use for Mini Split Installation Denver CO, specifically state that the warranty is only valid if the system is installed by a licensed HVAC professional. If a DIY-installed unit fails six months later, you could be stuck paying for the entire Mini Split Repair Littleton CO out of pocket.
At Veteran Heating, Cooling, Plumbing & Electric, we provide a lifetime warranty on parts and labor. We take the risk off your shoulders. When we handle your Mini Split Installation Denver CO, you know it’s done right the first time, backed by a veteran-led team that stands by its word.
Frequently Asked Questions about Mini Split Installation
Do mini splits work in Colorado's extreme cold?
Yes! As long as you choose a system rated for cold climates. While older heat pumps struggled once it hit freezing, modern ductless systems are designed for places like Denver. They use advanced flash-injection technology to keep your home warm even during those sub-zero January nights in Arvada or Lakewood.
How often do I need to maintain my mini split?
Because mini splits move a lot of air through a small space, the filters need to be cleaned every 2 to 4 weeks. It’s a simple process—you just pop the front cover, rinse the filters in the sink, let them dry, and put them back. Beyond that, we recommend a professional tune-up once a year to clean the coils and check the refrigerant levels.
Do I need a permit for a mini split installation?
In almost every Denver Metro jurisdiction—from Centennial to Arvada—a permit is required for a mini split install. This typically covers both the mechanical installation and the electrical work. Getting a permit ensures that a city inspector verifies the work is safe and up to code, which is vital for your home’s resale value and insurance coverage.
Conclusion
Upgrading your home with a ductless system is a smart investment in your comfort and your property value. Whether you're looking to solve a "hot room" problem or want to transition your entire home to high-efficiency electric heating and cooling, a mini split install is the most versatile solution available today.
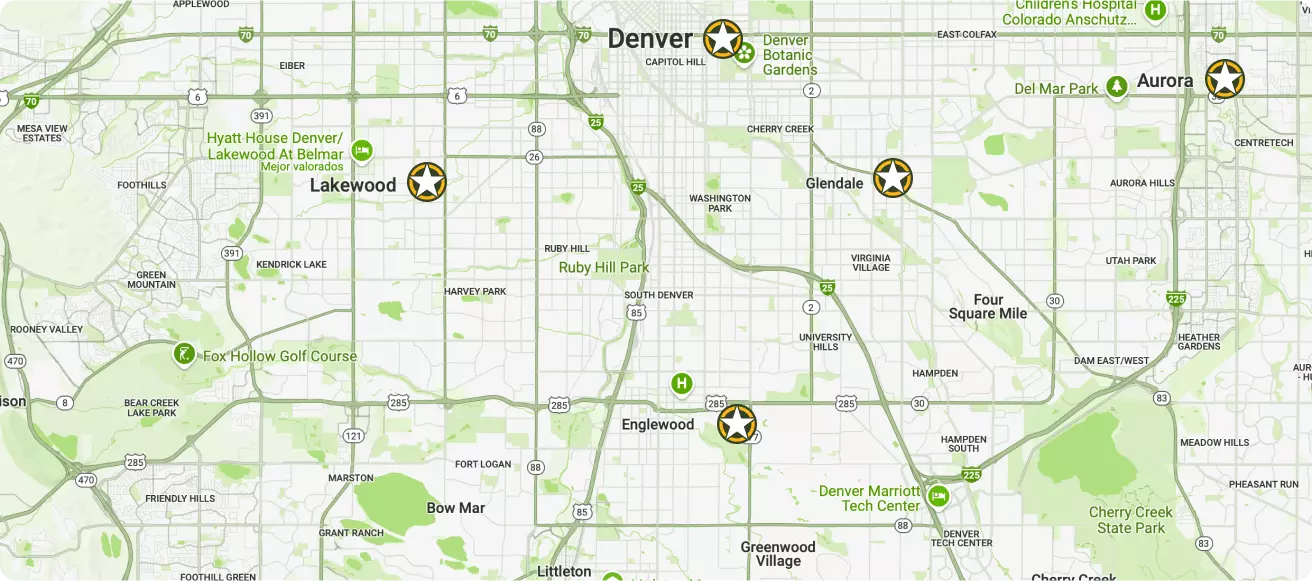
At Veteran Heating, Cooling, Plumbing & Electric, we bring military-grade precision to every home we serve. As a veteran-owned and locally operated company, we don't just work in these communities—we live here. We serve the entire Denver Metro area, including Greenwood Village, Arvada, Aurora, Broomfield, Castle Rock, Centennial, Columbine, Golden, Highlands Ranch, Lakewood, and Littleton.
We believe in honest, upfront service. That’s why we offer 24/7 emergency service with no dispatch fees, a lifetime warranty on parts and labor, and a 10% discount for veterans, seniors, and first responders. If you’re ready to experience the quiet, efficient comfort of a ductless system, we’re ready to help.
Mini Split Installation Denver CO is just a phone call away. Let us show you what "Service by Veteran" truly means.
ABOUT Veteran Heating, Cooling, Plumbing & Electric
Veteran Heating, Cooling, Plumbing & Electric was founded on the belief that service should be personal, honest, and community-focused. Our team is built around integrity, professionalism, and a true commitment to your home’s comfort and safety.
Led by a U.S. Army veteran with over 30 years of industry experience, we’re proud to remain locally owned and operated. Every technician, plumber, and electrician is EPA-certified, background checked, and driven to exceed expectations.
- 24/7 ServiceWe offer weekend & 24/7 emergency service. We’re here whenever you need us—day, night, or weekend, no exceptions.
- $0 Trip FeesNo dispatch or trip fees. You’ll never pay just for us to show up—service starts when the work does.
OUR SERVICES
AIR CONDITIONING
.jpg)
We offer specialty and seasonal services like indoor air quality upgrades, pre-winter furnace checks, and summer AC tune-ups to keep your home prepared year-round.
Our Primary Air Conditioning Services Include:
Don't see the service you need? Call our Team today!
PLUMBING
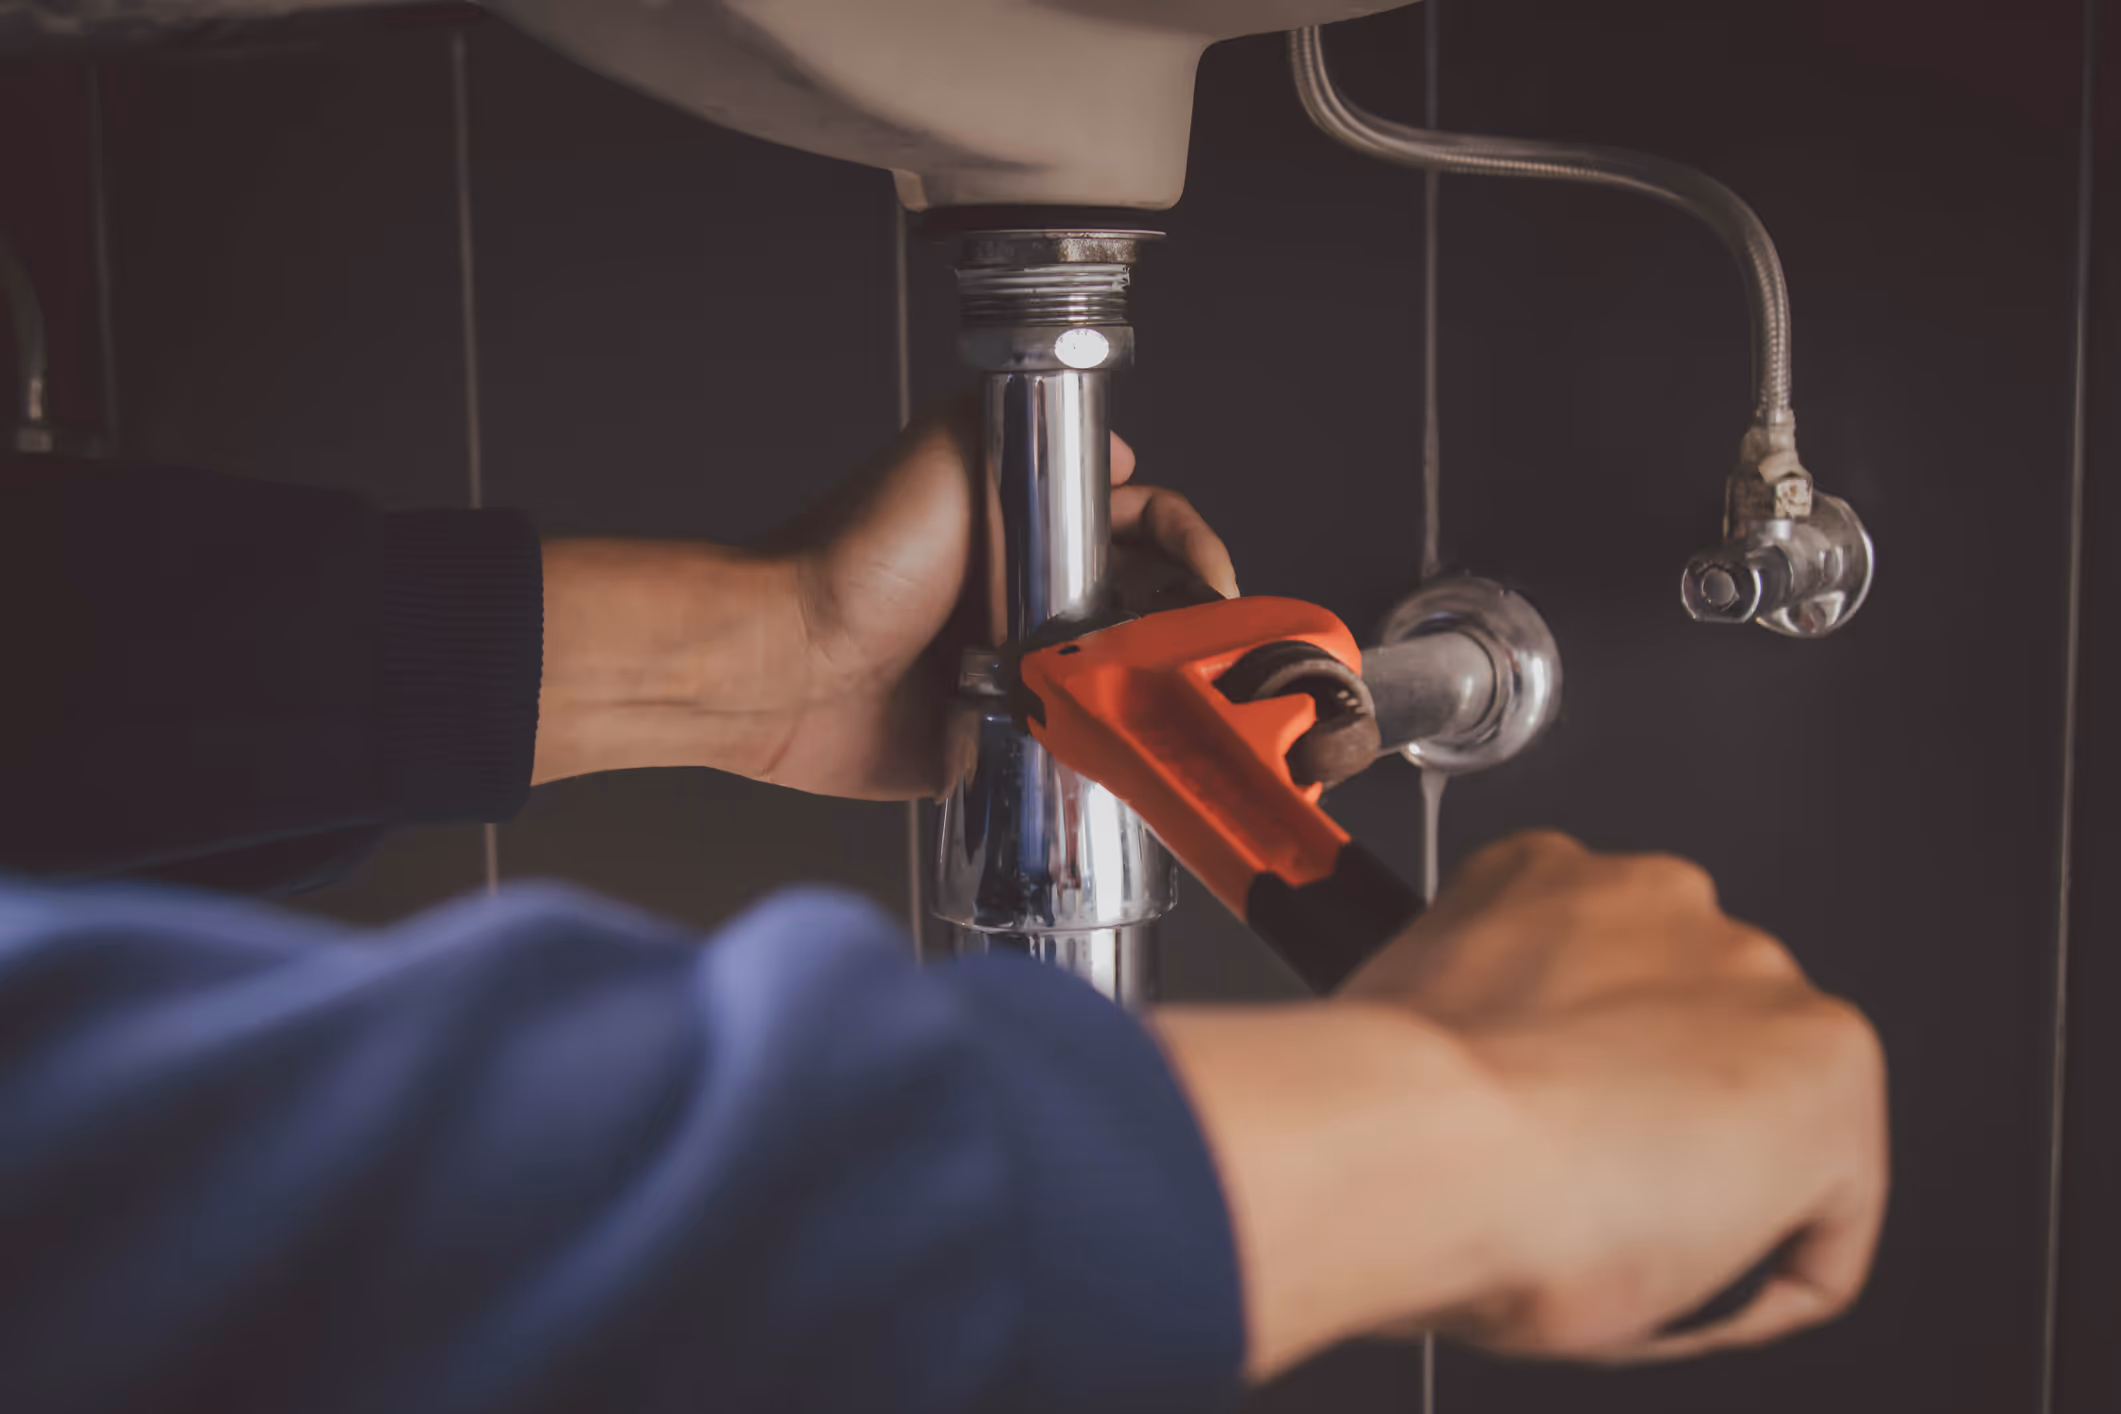
From leaks to full system installs, our plumbing services cover everything you need for a safe, reliable home water system, 24/7.
Our Primary Plumbing Include:
- Water Heater Replacement
- Water Heater Repair
- Trenchless Sewer Line
- Water Filtration
- Slab Leak
- Sewer Line Repair
Don't see the service you need? Call our Team today!
ELECTRICAL

Our electrical services ensure your home stays safe and powered, from routine fixes to complete system upgrades.
Our Primary Electrical Services Include:
- House Rewiring
- Electrician
- Electric Panel Upgrade
- Electric Panel Replacement
- EV Chargers
- Whole House Generator
Don't see the service you need? Call our Team today!
HEATING
.jpg)
We install, repair, and maintain heating & furnace systems with expert care to keep your Colorado home comfortable and energy-efficient year-round.
Our Primary Heating Services Include:
- Heating Installation
- Heating Replacement
- Heating Maintenance
- Heating Repair
- Heating Service
- Heating Tune-Up
Don't see the service you need? Call our Team today!