Is Your Thermostat the Real Problem? Start Here Before You Call
Knowing how to check your thermostat before calling for repair could save you a service call entirely — because roughly 25% of furnace repair calls turn out to be simple thermostat issues, not equipment failures at all.
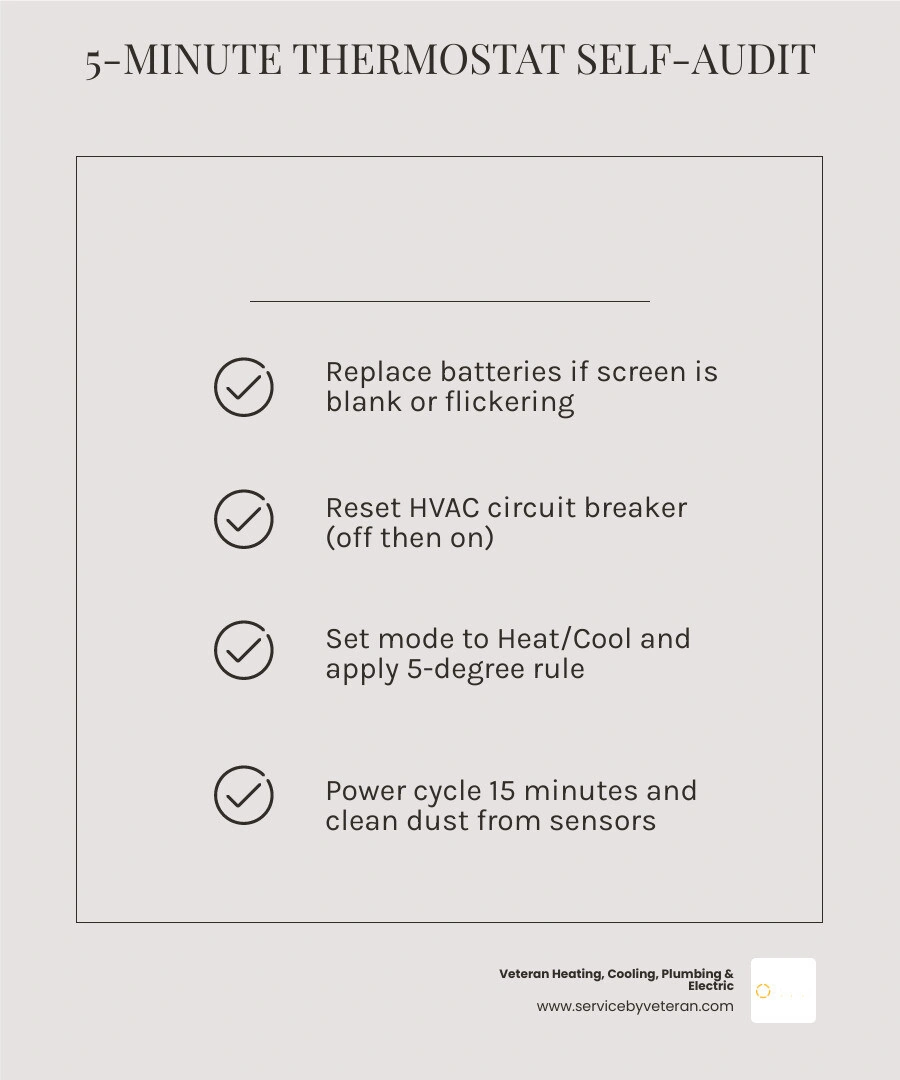
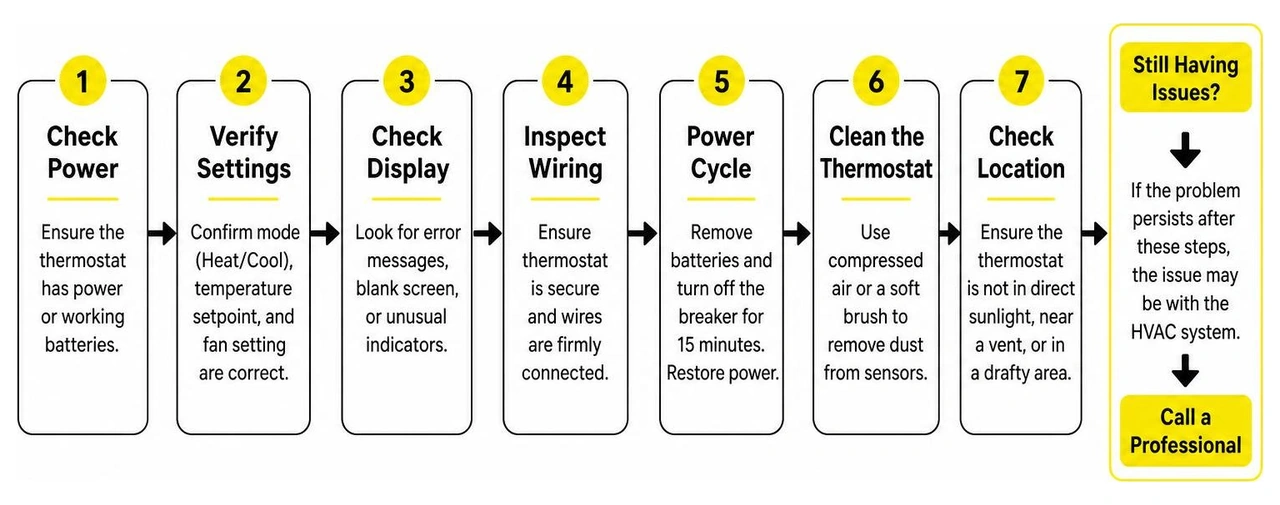
Here is a quick checklist to run through first:
1. Check the batteries — Replace them with fresh alkaline batteries if the screen is blank or flickering.
2. Reset the circuit breaker — Find the breaker labeled HVAC, Furnace, or Air Handler and flip it off, then on.
3. Verify the mode and fan settings — Make sure the system is set to Heat or Cool, not Off or Fan Only.
4. Apply the 5-degree rule — Set the target temperature at least 5°F above or below the current room temperature to force a system response.
5. Perform a 15-minute power cycle — Remove batteries and flip the breaker off for 15 minutes to reboot a digital thermostat.
6. Clean the thermostat — Use compressed air or a soft brush to remove dust from the sensors.
7. Check the location — Make sure the thermostat is not in direct sunlight, near a vent, or in a drafty area.
If none of these steps resolve the issue, the problem may lie with the HVAC equipment itself — and that is when it is time to call a professional.
Most modern thermostats last about 10 years, and a surprising number of comfort complaints trace back to something as simple as dead batteries or an accidentally changed setting. The good news is that many of these checks take less than five minutes and require no tools at all.
I'm Mike Townsend, a U.S. Army veteran and owner of Veteran Heating, Cooling, Plumbing & Electric, and my background in precision systems — including managing cooling systems for heat-seeking missile heads during my military service — gives me a unique perspective on how to check your thermostat before calling for repair and when a simple fix is all that stands between you and a comfortable home. In the sections below, I'll walk you through every check in plain language so you can troubleshoot with confidence.
Why You Should Learn How to Check Your Thermostat Before Calling for Repair
It is a scenario every homeowner in the Denver Metro area dreads: the summer heat is rising in Littleton or the winter chill is creeping into Arvada, and your HVAC system refuses to kick on. Before you panic and search for emergency heating or air conditioning services, taking a few minutes to evaluate your thermostat is the smartest first move you can make.
Unnecessary service calls are incredibly common. When a system fails to start, human error or a minor electrical glitch is often the true culprit. By learning how to audit your thermostat, you can prevent paying for a diagnostic visit that ends with a technician simply flipping a switch or changing a pair of AA batteries.
Beyond saving yourself immediate hassle, understanding how your thermostat functions helps you maintain excellent energy efficiency. Even a minor temperature reading error of just 2°F can cause your heating and cooling system to work significantly harder than it needs to, driving up your monthly utility bills. Properly managing your settings — such as turning your thermostat back 7°F to 10°F from its normal setting for eight hours a day — can save you up to 10% a year on heating and cooling costs. You can learn more about maximizing these adjustments in our guide on the Best Thermostat Settings for Summer AC Savings.
Furthermore, a malfunctioning thermostat can trigger "short cycling," where your furnace or air conditioner turns on and off rapidly in cycles under 10 minutes. Short cycling is a notorious compressor killer and places massive wear and tear on your system's heat exchanger. Catching a thermostat communication issue early prevents this mechanical strain, protecting your system from premature failure.
Step-by-Step Guide: The Essential Power and Settings Audit
When your home's climate control starts acting up, we recommend performing a systematic audit. Do not skip steps or jump straight to replacing expensive parts. Instead, follow this logical progression of simple DIY checks to isolate the issue.
How to Check Your Thermostat Before Calling for Repair: Power and Batteries
The absolute first line of defense is checking the power supply. If you have a digital or smart thermostat, it relies on steady electrical current to send signals to your heating and cooling equipment.
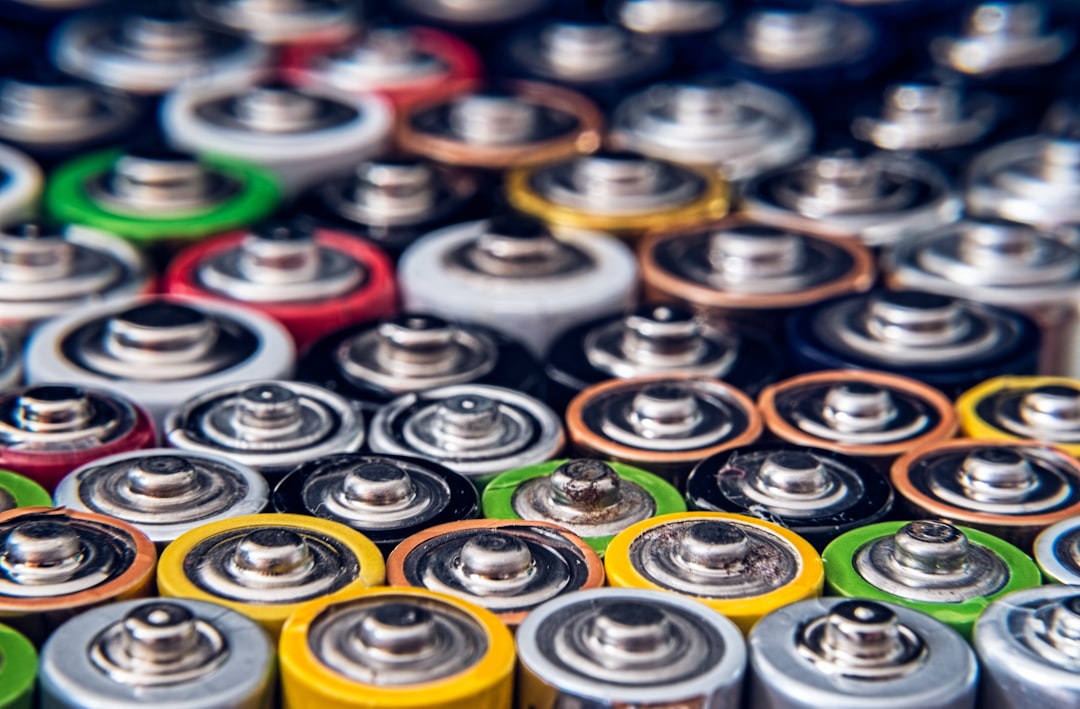
If your thermostat screen is blank, flickering, or displaying a low-battery icon, it is time for a replacement. Many homeowners do not realize that low batteries can still have just enough juice to power the digital display, but fail to provide enough voltage to trigger the relays that signal your HVAC system to turn on.
• Battery Replacement: Pop the thermostat off its wall plate gently. Replace the old batteries with high-quality, name-brand alkaline or lithium batteries. Avoid rechargeable batteries, as they tend to lose voltage quickly and can cause intermittent signal drops.
• The Circuit Breaker: If fresh batteries do not restore life to the display, or if your thermostat is hardwired without backup batteries, check your home's main electrical panel. Locate the circuit breaker labeled "HVAC," "Furnace," or "Air Handler." If the breaker has tripped to the middle position, switch it completely to the "Off" position, and then flip it firmly back to "On."
• The 15-Minute Power Cycle: Just like a computer or smartphone, digital and smart thermostats can experience software freezes. To reboot the system, remove the batteries and flip the corresponding circuit breaker off. Leave the system completely unpowered for 15 minutes. This allows any residual electrical charge in the capacitors to drain, forcing a clean factory reboot when you restore power.
How to Check Your Thermostat Before Calling for Repair: Mode and Fan Settings
If your thermostat has power but the system is idle, the issue might be a simple setting oversight. It is incredibly easy for a child, a guest, or an accidental bump during cleaning to alter your system's programming.
First, check the System Mode. Ensure it is actively set to "Heat" during our freezing Colorado winters or "Cool" during the summer months. If it is set to "Off" or "Fan Only," your compressor and furnace burner will remain completely idle.
Next, look at the Fan Settings. Your options are typically "Auto" or "On."
• Auto Mode means the blower fan only runs when the system is actively heating or cooling the air.
• On Mode runs the blower fan continuously, regardless of whether the air is being conditioned. While continuous fan mode provides excellent air filtration, it can lead to higher electricity bills and make the air feel drafty when the furnace or AC is not actively running.
To test if your thermostat is communicating with your system, apply the 5-degree rule. If you want heating, raise the target temperature at least 5°F above the current room temperature. If you want cooling, lower it 5°F below the room temperature. This substantial differential forces the thermostat to send an immediate call for action. Listen closely for a physical "click" from the thermostat casing — this is the sound of the internal relay contacts closing to send the signal.
Lastly, check for any active "Holds" or programmed schedules. An old temporary hold or an outdated vacation setting can easily override your manual adjustments. Clear all holds to return the thermostat to its baseline manual control before assuming it is broken. For a deeper understanding of what else needs to be verified during seasonal transitions, take a look at our AC Tune Up Checklist What Your Technician Should Check.
Physical Maintenance, Location, and Calibration Checks
If your thermostat has power and the settings are correct, but your home still feels like a frozen tundra or a tropical rainforest, the problem may be physical. Dust, poor leveling, and location bias can easily disrupt a thermostat's operation.
Cleaning and Leveling Your Thermostat
Over time, household dust, pet hair, and "mischievous" dust bunnies can settle inside your thermostat's housing. This buildup acts as an insulator, trapping heat around the internal sensors and causing "sensor drift." When this happens, your thermostat thinks the room is warmer or cooler than it actually is.
To clean your thermostat safely:
1. Turn off the power to your HVAC system at the circuit breaker.
2. Gently remove the thermostat cover.
3. Use a can of compressed air or a soft-bristled brush to gently blow away dust from the internal components, bi-metal coils, or sensors. Never use wet cloths, liquid cleaners, or harsh chemicals on the delicate circuitry.
If you have an older mechanical (analog) thermostat, leveling is absolutely critical. Many of these classic units utilize a mercury switch — a small glass bulb containing a bead of mercury that rolls across electrical contacts as a bi-metal coil expands and contracts. If the thermostat housing is slightly tilted on the wall, the mercury will not roll correctly, leading to highly inaccurate temperature readings or a complete failure to turn on. Use a small bubble level to ensure the housing is perfectly straight.
Location Bias and Temperature Calibration
Sometimes, your thermostat is working perfectly, but it is being lied to by its environment. This is known as location bias. A thermostat must be mounted on an interior wall, ideally at shoulder height (about five feet off the ground), in a central living space that experiences natural airflow.
If your thermostat is located in any of the following areas, it will read incorrect temperatures:
• In direct sunlight from a nearby window.
• Directly under or opposite a supply register or drafty exterior door.
• On an exterior wall, which is highly influenced by outdoor temperatures.
• Near heat-generating appliances like lamps, televisions, or kitchen ovens.
To verify if your thermostat is reading accurately, you can perform a simple calibration check. Tape a reliable, separate household thermometer on the wall directly next to your thermostat. Let both sit undisturbed for one hour. After 60 minutes, compare the two readings.
An acceptable difference is 1°F to 2°F. If the discrepancy is 3°F or greater, your thermostat is out of calibration. While some digital models allow you to adjust the calibration offset in the advanced settings menu, older mechanical units may require replacement. If you suspect your system's calibration is off and you live in the southern metro area, reaching out for professional HVAC Maintenance Littleton CO is a highly reliable way to restore your home's comfort.
Advanced Diagnostics: Wiring and Distinguishing HVAC Failures
If the basic power, settings, and physical checks do not reveal the problem, you can dive into slightly more advanced troubleshooting. However, safety must always come first.
Safe Wiring Inspections and the Jumper Test
Thermostat wiring operates on low-voltage electricity (typically 24 volts AC), which is generally safe to handle. However, a short circuit can still damage your HVAC system's control board. Always turn off the power at your main circuit breaker before removing the thermostat from the wall to inspect wires.
Once the power is off and the cover is removed, inspect the terminal connections:
• Verify that all wires are securely fastened to their labeled terminals (such as R, W, Y, G, and C). Use the terminal letters on the plastic baseplate rather than wire colors, as installers do not always follow standard color coding.
• Look for loose, frayed, or corroded copper wires. If you see corrosion, you can gently clean the wire ends with a pencil eraser.
• Take a quick photo of the wiring with your phone before making any adjustments. This photo documentation is a lifesaver if you need to restore the original setup.
For advanced DIYers, a jumper test can help isolate whether the thermostat itself is faulty or if the HVAC unit is broken. By using a small piece of insulated wire (a jumper wire) to bridge the "R" (power) terminal directly to the "W" (heating) or "Y" (cooling) terminal, you bypass the thermostat entirely. If the furnace or AC turns on when you jump these terminals, your HVAC system is fully functional, and your thermostat is indeed the broken link. If nothing happens, the issue lies deeper within your system's equipment.
If you are uncomfortable handling wiring or want an expert to safely run these diagnostics, contact our team. We answer the phone 24/7.
Distinguishing Thermostat Issues From HVAC System Failures
It is common to blame the thermostat when your home is uncomfortable, but several external HVAC safety features can mimic a thermostat failure by cutting off power or preventing operation.
• Clogged Air Filter: A heavily restricted air filter blocks airflow, causing your furnace to overheat or your AC coils to freeze. When a furnace overheats, a safety limit switch trips and shuts down the heating cycle immediately. Replacing a dirty filter can lower your system's energy use by 5% to 15% and prevent these safety shutdowns.
• Blower Door Safety Switch: Your indoor furnace or air handler has a safety switch on the main blower compartment door. If you recently changed your filter and did not latch the door completely shut, this switch remains open, cutting off all 24-volt power to your thermostat and making the screen go blank.
• Condensate Float Switch: During the hot summer months, your AC produces moisture (condensate). If your drain line clogs, water backs up into the drain pan, tripping a safety float switch. This switch instantly cuts power to the thermostat or outdoor unit to prevent water damage to your home.
To help you quickly diagnose what is going on, use this comparison table:
• Blank Screen — Likely Thermostat Issue: Dead batteries; loose faceplate contacts — Likely HVAC Equipment Failure: Tripped blower door safety switch; clogged condensate drain tripping float switch
• System Runs Nonstop — Likely Thermostat Issue: Thermostat placed in direct sunlight or draft; shorted thermostat wires — Likely HVAC Equipment Failure: Stuck contactor in outdoor AC unit; failing limit switch
• Short Cycling — Likely Thermostat Issue: Dirty internal sensors; poor calibration; thermostat too close to supply vent — Likely HVAC Equipment Failure: Overheating heat exchanger due to dirty air filter; oversized HVAC system
• Relay Clicks, No Air Blows — Likely Thermostat Issue: Loose "G" (fan) wire terminal — Likely HVAC Equipment Failure: Failed blower motor capacitor; broken fan belt
• Screen Works, No Heat/Cool — Likely Thermostat Issue: Out of calibration; incorrect mode settings — Likely HVAC Equipment Failure: Tripped high-limit switch; failed ignition system; low refrigerant
Frequently Asked Questions about Thermostat Troubleshooting
We hear many of the same questions from homeowners across Arvada, Aurora, and Denver. Here are quick, actionable answers to help you navigate your thermostat issues.
How often should I replace my thermostat batteries?
You should replace your thermostat batteries once a year. We highly recommend making this a part of your autumn home maintenance routine, changing them at the same time you check and replace the batteries in your smoke and carbon monoxide detectors. Always use high-quality, non-rechargeable alkaline or lithium batteries to protect the internal circuitry from potential battery acid leaks. Keeping up with these simple habits ensures you never get caught in a cold snap with an unresponsive screen. If you want to make sure your entire cooling system is ready for the seasons ahead, consider booking a professional AC Tune Up Arvada CO.
How do I know if the problem is my thermostat or my furnace?
The easiest way to isolate the issue is to perform the Fan Only Test. Walk over to your thermostat and switch the fan setting from "Auto" to "On." If you immediately hear the indoor blower motor kick on and start pushing air through your vents, it proves that your thermostat has power and is successfully communicating with your indoor air handler. If the blower works in "On" mode, but switching the system to "Heat" produces no warmth, the issue is highly likely located inside your furnace (such as a failed ignitor or gas valve) rather than the thermostat. If you suspect your furnace is the culprit, our local technicians are ready to help with comprehensive HVAC Repair Aurora CO.
Can a dirty thermostat affect my energy bills?
Yes, absolutely. Dust and debris settling on your thermostat’s internal sensors act as insulation, creating a barrier between the sensor and the actual room air. This leads to calibration drift, often throwing the reading off by 2°F to 3°F. As a result, your system will run longer than necessary to reach its target temperature, which can easily add 5% to 10% to your monthly energy bills. Regular cleaning is a simple, cost-free way to keep your system highly efficient. To keep your entire heating and cooling infrastructure running at peak efficiency, we recommend enrolling in regular maintenance, such as our seasonal HVAC Maintenance Aurora CO services.
Conclusion
Taking the time to learn how to check your thermostat before calling for repair is a fantastic way to build confidence as a homeowner, save money on simple fixes, and keep your heating and cooling systems running efficiently. Whether you are dealing with a blank screen, inconsistent temperatures, or a system that refuses to turn on, running through our quick power and settings checklist can resolve the issue in minutes.
However, if you have replaced the batteries, verified your settings, checked the circuit breakers, cleaned the sensors, and your home is still uncomfortable, it is time to bring in the professionals. Attempting complex electrical bypasses or tearing into your HVAC unit's internal wiring without proper training can lead to expensive equipment damage or safety hazards.
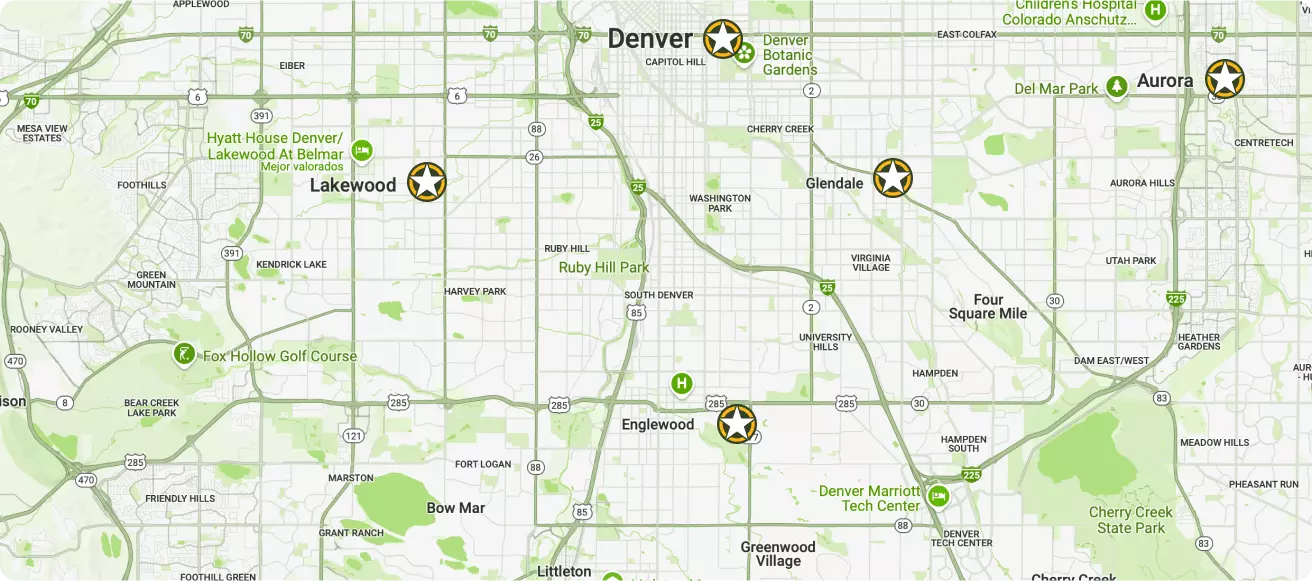
At Veteran Heating, Cooling, Plumbing & Electric, we serve communities throughout the Denver Metro Colorado area — including Denver, Greenwood Village, Arvada, Aurora, Broomfield, Castle Rock, Centennial, Columbine, Golden, Highlands Ranch, Lakewood, and Littleton. As a veteran-owned and operated company led by a U.S. Army veteran with over 30 years of industry experience, we bring military values of absolute integrity, honest craftsmanship, and dedicated service to every single job.
We stand behind our work with a lifetime warranty on all parts and labor for the original homeowner (full terms here). Plus, we never charge dispatch or trip fees, and we offer a 10% discount for veterans, seniors, and first responders. To keep your system in perfect shape year-round, ask about our $9.99/month maintenance plan, which includes priority scheduling and exclusive repair discounts. Whether you need a seasonal AC Tune Up Denver CO or urgent diagnostic help, we answer the phone 24/7.
Schedule professional AC repair services today and let our background-checked, EPA-certified technicians restore perfect comfort to your home!
ABOUT Veteran Heating, Cooling, Plumbing & Electric
Veteran Heating, Cooling, Plumbing & Electric was founded on the belief that service should be personal, honest, and community-focused. Our team is built around integrity, professionalism, and a true commitment to your home’s comfort and safety.
Led by a U.S. Army veteran with over 30 years of industry experience, we’re proud to remain locally owned and operated. Every technician, plumber, and electrician is EPA-certified, background checked, and driven to exceed expectations.
- 24/7 ServiceWe offer weekend & 24/7 emergency service. We’re here whenever you need us—day, night, or weekend, no exceptions.
- $0 Trip FeesNo dispatch or trip fees. You’ll never pay just for us to show up—service starts when the work does.
OUR SERVICES
AIR CONDITIONING
.jpg)
We offer specialty and seasonal services like indoor air quality upgrades, pre-winter furnace checks, and summer AC tune-ups to keep your home prepared year-round.
Our Primary Air Conditioning Services Include:
Don't see the service you need? Call our Team today!
PLUMBING
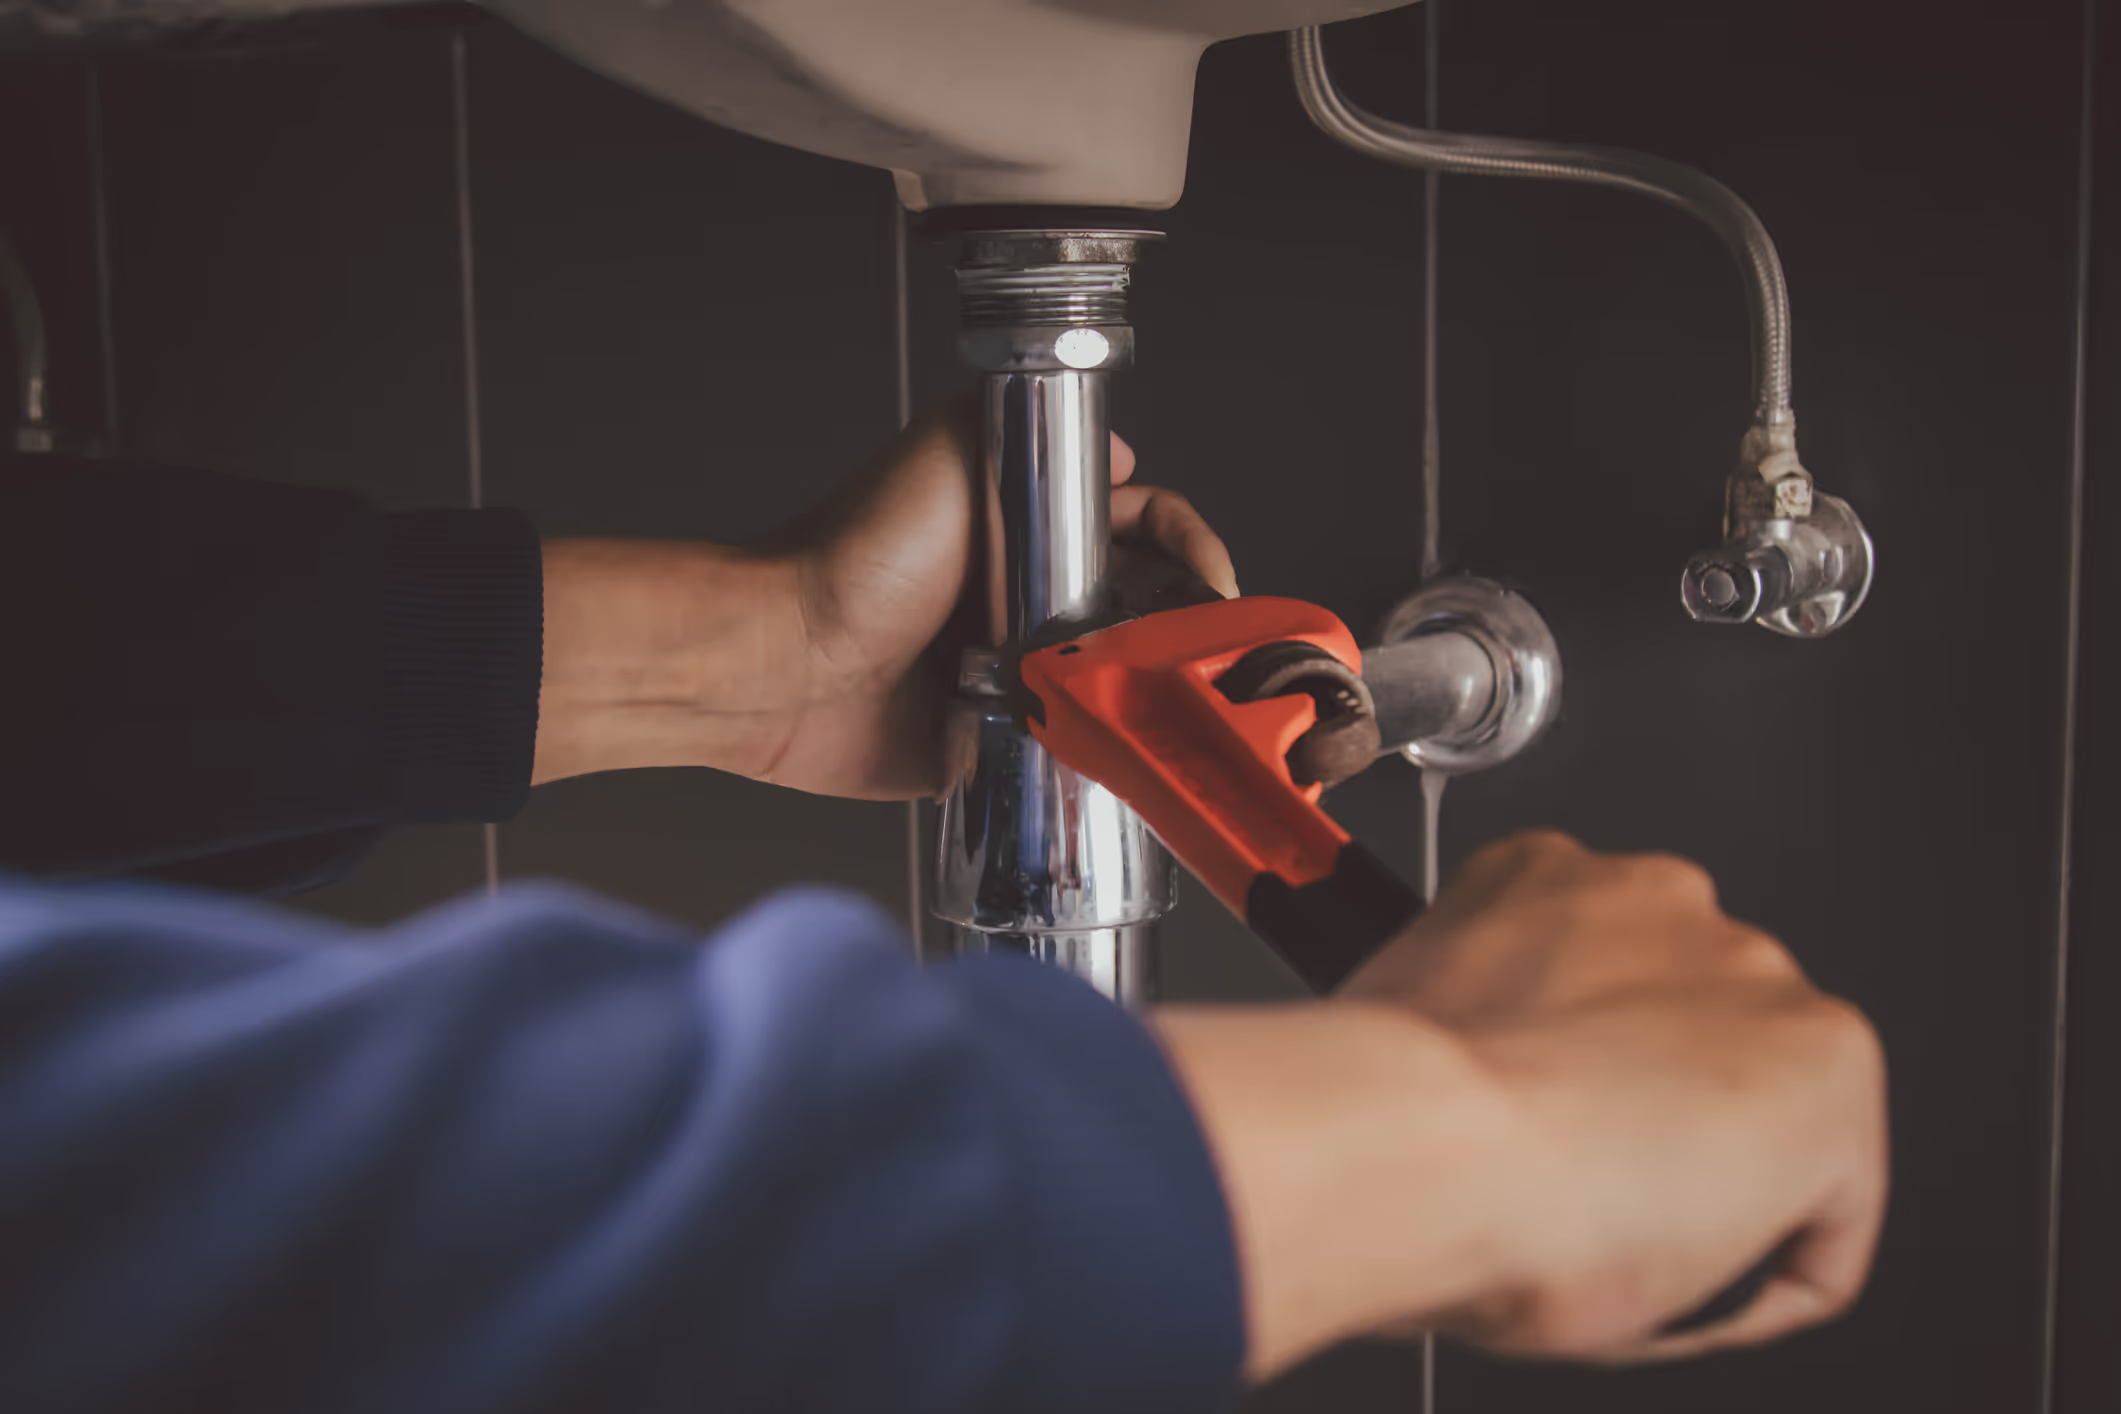
From leaks to full system installs, our plumbing services cover everything you need for a safe, reliable home water system, 24/7.
Our Primary Plumbing Include:
- Water Heater Replacement
- Water Heater Repair
- Trenchless Sewer Line
- Water Filtration
- Slab Leak
- Sewer Line Repair
Don't see the service you need? Call our Team today!
ELECTRICAL

Our electrical services ensure your home stays safe and powered, from routine fixes to complete system upgrades.
Our Primary Electrical Services Include:
- House Rewiring
- Electrician
- Electric Panel Upgrade
- Electric Panel Replacement
- EV Chargers
- Whole House Generator
Don't see the service you need? Call our Team today!
HEATING
.jpg)
We install, repair, and maintain heating & furnace systems with expert care to keep your Colorado home comfortable and energy-efficient year-round.
Our Primary Heating Services Include:
- Heating Installation
- Heating Replacement
- Heating Maintenance
- Heating Repair
- Heating Service
- Heating Tune-Up
Don't see the service you need? Call our Team today!