Why Knowing How to Prepare Your Home for Mini Split Installation Day Makes All the Difference
Knowing how to prepare your home for mini split installation day is one of the most important things you can do to make sure the process goes smoothly, safely, and without unnecessary delays. Here is a quick overview of what you need to do before your technician arrives:
- Clear indoor access paths - Move furniture, rugs, and wall decor away from the installation area
- Prepare the outdoor site - Remove debris, trim shrubs, and confirm the surface is level
- Verify electrical readiness - Confirm your panel can support a dedicated 240V circuit
- Secure pets and plan for family - Board pets or move them to a separate area for the day
- Confirm permits are in order - Check with your local building department about mechanical and electrical permits
- Meet your installer on arrival - Inspect the equipment together and confirm unit placement before work begins
Getting these steps right matters more than most homeowners realize. Most mini split system failures trace back to installation errors, not the equipment itself. And when a job site is cluttered, inaccessible, or electrically unprepared, even the most skilled technician runs into avoidable setbacks. A little preparation on your end protects your investment, keeps your warranty intact, and helps your new system deliver the zoned comfort and energy savings it was designed for, especially in Denver Metro's demanding four-season climate.
I'm Mike Townsend, a U.S. Army veteran and founder of Veteran Heating, Cooling, Plumbing & Electric, and my background managing precision cooling systems in the military taught me how critical proper preparation is before any installation begins. That same mission-first discipline shapes every mini split installation our team performs across the Denver Metro area, and this guide on how to prepare your home for mini split installation day reflects exactly what we wish every homeowner knew before we showed up.

How to prepare your home for mini split installation day

When it comes to What is a Ductless Mini Split System, the installation is far less invasive than traditional central air, but it still requires a coordinated effort between you and our team. April 2026 is a fantastic time to get this done before the Colorado summer heat hits, but a successful day starts long before we pull into your driveway in Arvada or Lakewood.
Preparation is about property protection and timeline adherence. When we arrive, we want to focus on the technical precision of flaring copper lines and vacuuming the system to below 500 microns—not moving your heavy oak dresser or chasing a curious cat away from the drill. Proper prep ensures that our safety protocols are followed to the letter, protecting both your family and our technicians.
How to prepare your home for mini split installation day by clearing access paths
The first mission is clearing the literal path. Our technicians will be carrying indoor air handlers that can weigh 40 to 50 pounds, along with ladders, vacuums, and specialized tools. For a smooth Mini Split Installation Aurora CO, we recommend creating a "clear zone" of at least three to four feet around the area where the indoor unit will be mounted.
- Furniture Removal: Move any couches, desks, or beds that sit directly under the intended mounting spot. We need space for a ladder and room to work without fear of dropping debris on your upholstery.
- Wall Decor: Remove paintings, mirrors, or clocks from the installation wall. The vibration from drilling the three-inch hole for the line set can cause nearby items to shift or fall.
- Outdoor Debris: Clear a path from the street or driveway to the outdoor unit location. If we’re working in your backyard in Centennial or Highlands Ranch, please ensure gates are unlocked and dog waste is cleared.
- Pathway Organization: Roll up expensive rugs and move small side tables out of the hallways. We want a straight, trip-free shot from our service truck to the work zone.
Managing pets and family during the installation process
We love pets, but an installation site is no place for a furry friend. Between high-voltage wiring, refrigerant lines, and the noise of a masonry drill, there are plenty of hazards. For the best Mini Split Service experience, we suggest boarding your pets for the day or securing them in a room far from the work area. This isn't just for their safety—it prevents them from slipping out of an open door while we’re moving equipment in and out.
Similarly, it’s a good idea to establish "child-safe zones." If you have little ones, explain that the technicians are working and that the area is off-limits. Noise management is also a factor; drilling through an exterior wall can be loud and might disrupt naps or work-from-home meetings. Setting clear communication expectations with our lead technician upon arrival helps everyone stay on the same page regarding the timeline and which rooms will be impacted.
Assessing Placement and Sizing Considerations
Proper placement is the difference between a system that lasts 20 years and one that fails in five. According to our Mini Split Installation Littleton Guide, indoor units should typically be mounted high on the wall—usually 7 to 8 feet from the floor—to allow for optimal air distribution.
Airflow clearance is vital. You don’t want to tuck an air handler into a tight corner or behind a decorative soffit where the air can’t circulate. We also have to consider the drainage slope. Because these units pull moisture out of the air, the condensate line must have a continuous downward pitch of about 1/4 inch per foot to drain properly by gravity. If the wall doesn’t allow for this, we may need to discuss a condensate pump.
Choosing the right location for indoor and outdoor units
When selecting a spot for your Mini Split AC, exterior walls are usually the most efficient choice because they simplify the routing of the refrigerant lines.
- Indoor Units: Avoid placing them in direct sunlight or near other heat sources like ovens, as this can trick the thermostat into overworking the system. We use a stud finder to mark exactly where the mounting bracket will go to ensure it can support the unit's weight.
- Outdoor Units: The condenser needs a flat, stable surface—either a concrete pad or heavy-duty wall brackets. We often use vibration pads to keep the unit quiet and prevent hums from traveling into the house.
- Accessibility: Ensure there is at least 12 inches of clearance around the outdoor unit and 5 feet above it. This isn't just for airflow; it’s for maintenance accessibility. If a technician can’t reach the service valves in three years, your "easy" installation becomes a costly headache.
Home measurements and BTU sizing essentials
Sizing a mini split isn't a "one-size-fits-all" guess. If you’re looking into a Mini Split Replacement, we look at more than just square footage. A room with vaulted ceilings, large south-facing windows, or poor insulation in an older Golden home will require more BTUs (British Thermal Units) than a basement bedroom in Broomfield.
A system that is too small will run constantly, driving up your energy bills and wearing out the compressor. Conversely, a system that is too large will "short-cycle," turning on and off so rapidly that it fails to dehumidify the air, leaving your home feeling clammy. We use load calculations that factor in the Denver Metro climate demands to ensure your system is perfectly balanced for your specific space.
Electrical Readiness and Panel Upgrades
One of the most common hurdles for how to prepare your home for mini split installation day is the electrical setup. Unlike a window unit that plugs into a standard wall outlet, most Ductless Air Conditioning Installation projects require a dedicated 240V circuit.
In many older homes in areas like Columbine or Wheat Ridge, the existing electrical panel may already be at capacity. Before we arrive, it is essential to check if you have space for a new double-pole breaker. If your panel is full, you might need an electrical panel upgrade or a sub-panel. As a full-service provider, our team includes licensed electricians who can handle these upgrades, but knowing this in advance prevents the installation from grinding to a halt.
Electrical readiness: how to prepare your home for mini split installation day
Before the big day, take a look at your panel. You’ll need to verify that your home's voltage and amperage can handle the new load. Most single-zone systems require a 15 to 20 amp circuit, while larger multi-zone systems can require much more.
A Mini Split Contractor will also need to install a weather-tight disconnect switch near the outdoor unit. This is a safety requirement by local electrical codes, allowing a technician to safely cut power to the unit during future service. Furthermore, check with your local building department in cities like Castle Rock or Arvada regarding permit requirements. Most jurisdictions require both a mechanical and an electrical permit for a new mini split, and having these ready ensures the work is legal and won't cause issues when you eventually sell your home.
Electrical requirements for single-zone vs multi-zone systems
To give you an idea of what your panel needs to handle, here is a general comparison of common electrical requirements.
| Feature | Single-Zone System | Multi-Zone System (2-5 Heads) |
|---|---|---|
| Voltage | 115V or 230V (Model dependent) | Typically 230V / 240V |
| Circuit Type | Dedicated | Dedicated |
| Amperage Need | 15 - 20 Amps | 25 - 45+ Amps |
| Wiring Gauge | 14/2 or 12/2 AWG | 10/2 or 8/2 AWG |
| Breaker Space | 1-2 Slots | 2 Slots (Double-pole) |
Note: Always refer to the specific manufacturer's manual for your unit's exact electrical specifications.
Frequently Asked Questions about Mini Split Prep
Do I need to be home during the entire installation process?
While you don't necessarily need to watch over our shoulders the whole time, we highly recommend being home for the first hour and the last hour. At the start, we need to confirm the final placement of the units and the routing of the line sets. At the end, we want to walk you through the system operation, show you how to clean the filters, and ensure you’re comfortable with the remote control. If you can't be there, please ensure an authorized adult is present to make decisions on your behalf.
Should I arrange for electrical permits in advance?
In the Denver Metro area, permit requirements vary by city. While some homeowners prefer to handle this themselves, we usually recommend letting us manage the permitting process. We know the local codes in Lakewood, Aurora, and Littleton inside and out. Having the permits handled by a professional ensures that the inspection goes smoothly and that the installation meets all safety standards for insurance and warranty purposes.
How long does a typical mini split installation take in Colorado?
For a standard single-zone installation, you can expect the process to take between 4 to 6 hours. If we are installing a multi-zone system with four or five indoor heads, it could take one to two full days. Factors like drilling through brick or stone, long line set runs through an attic, or needing a panel upgrade can add time to the project. We always aim for efficiency without sacrificing the military-grade precision we’re known for.
Conclusion
At Veteran Heating, Cooling, Plumbing & Electric, we take pride in being a veteran-led, locally owned company that serves our neighbors with the same integrity we practiced in the military. From the moment you start wondering how to prepare your home for mini split installation day to the final system walkthrough, our mission is your comfort.
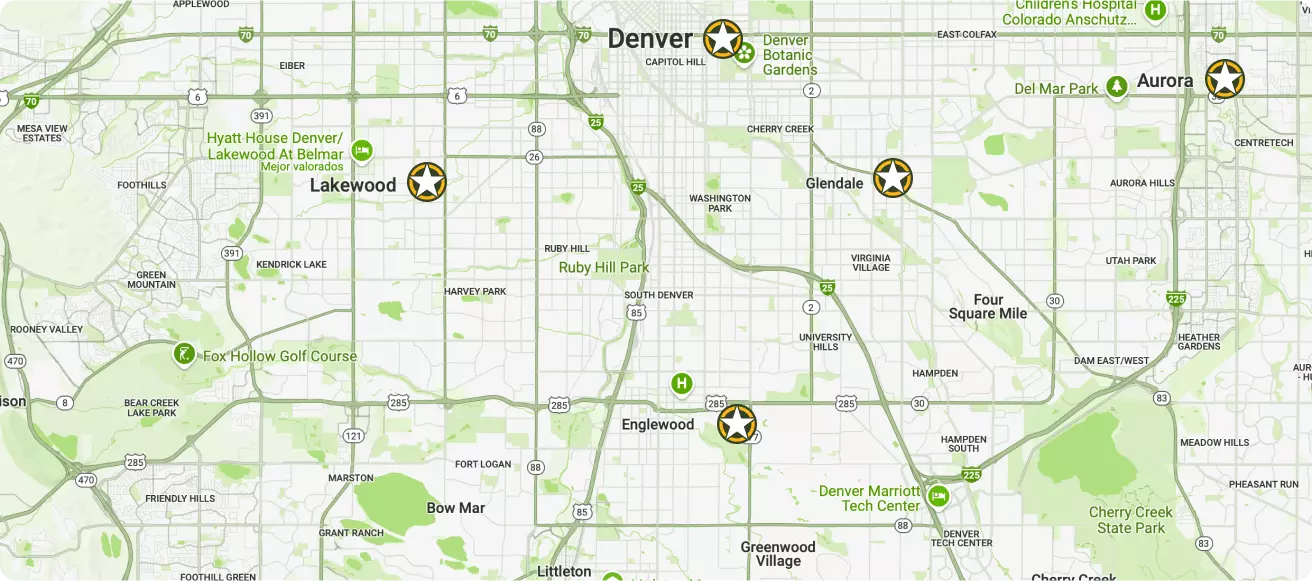
We serve the entire Denver Metro area, including Arvada, Aurora, Broomfield, Castle Rock, Centennial, Columbine, Golden, Highlands Ranch, Lakewood, and Littleton. We stand behind our work with a lifetime warranty on parts and labor and a 100% satisfaction guarantee. If you’re ready for a more efficient, zoned cooling solution, don’t wait for the summer rush. Contact us today to schedule your Mini Split Installation and experience the difference that honest, community-focused service makes.
ABOUT Veteran Heating, Cooling, Plumbing & Electric
Veteran Heating, Cooling, Plumbing & Electric was founded on the belief that service should be personal, honest, and community-focused. Our team is built around integrity, professionalism, and a true commitment to your home’s comfort and safety.
Led by a U.S. Army veteran with over 30 years of industry experience, we’re proud to remain locally owned and operated. Every technician, plumber, and electrician is EPA-certified, background checked, and driven to exceed expectations.
- 24/7 ServiceWe offer weekend & 24/7 emergency service. We’re here whenever you need us—day, night, or weekend, no exceptions.
- $0 Trip FeesNo dispatch or trip fees. You’ll never pay just for us to show up—service starts when the work does.
OUR SERVICES
AIR CONDITIONING
.jpg)
We offer specialty and seasonal services like indoor air quality upgrades, pre-winter furnace checks, and summer AC tune-ups to keep your home prepared year-round.
Our Primary Air Conditioning Services Include:
Don't see the service you need? Call our Team today!
PLUMBING
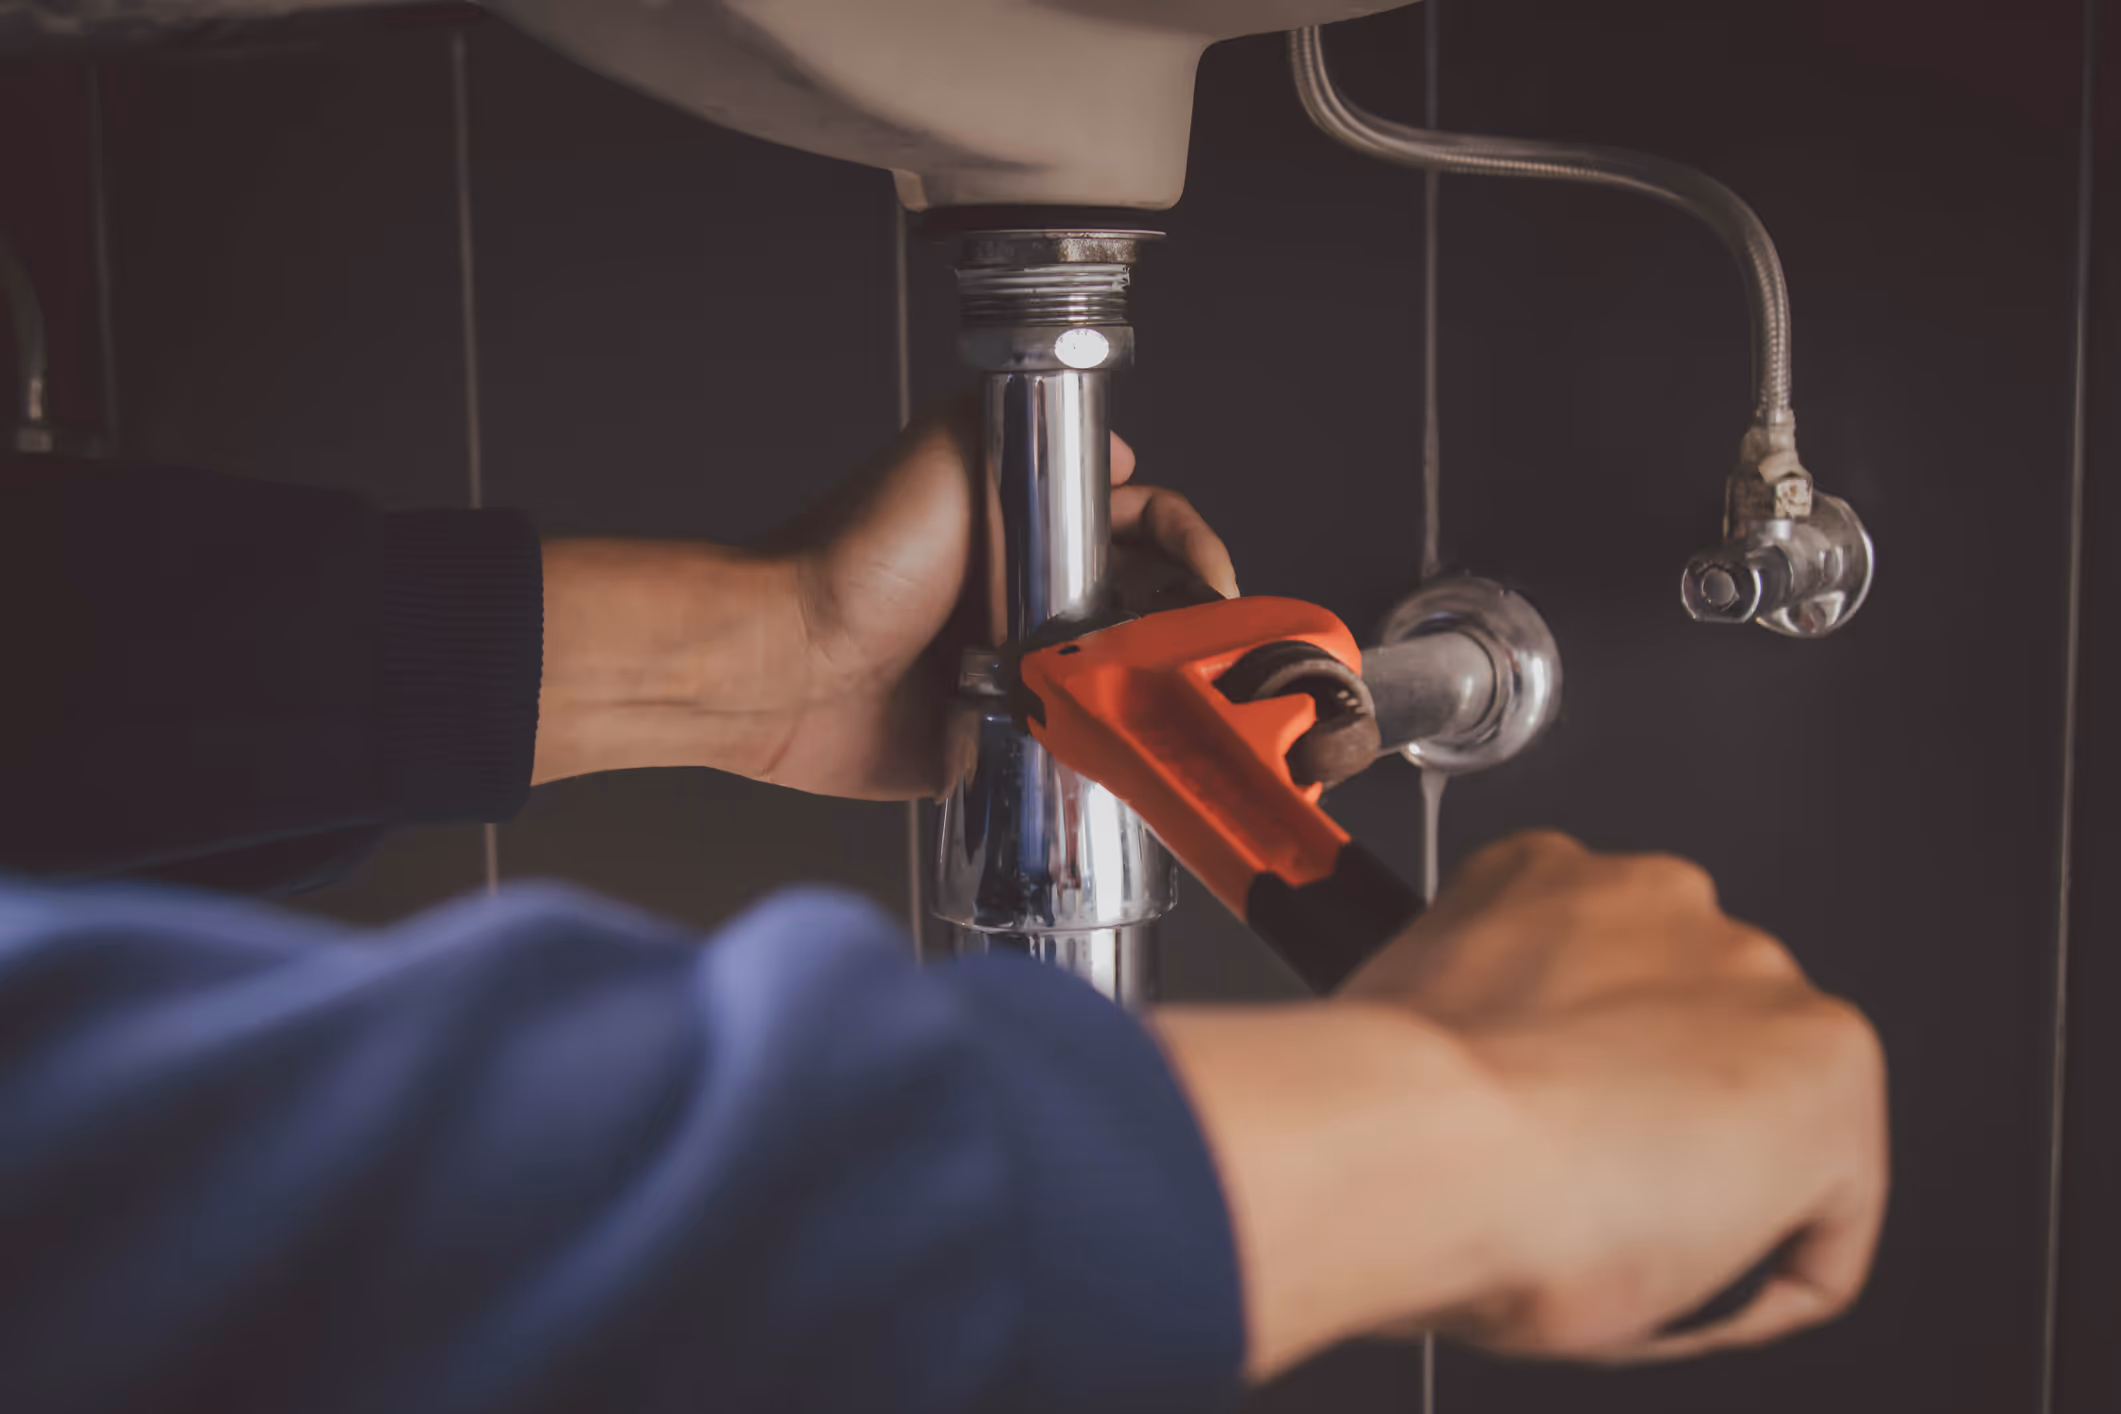
From leaks to full system installs, our plumbing services cover everything you need for a safe, reliable home water system, 24/7.
Our Primary Plumbing Include:
- Water Heater Replacement
- Water Heater Repair
- Trenchless Sewer Line
- Water Filtration
- Slab Leak
- Sewer Line Repair
Don't see the service you need? Call our Team today!
ELECTRICAL

Our electrical services ensure your home stays safe and powered, from routine fixes to complete system upgrades.
Our Primary Electrical Services Include:
- House Rewiring
- Electrician
- Electric Panel Upgrade
- Electric Panel Replacement
- EV Chargers
- Whole House Generator
Don't see the service you need? Call our Team today!
HEATING
.jpg)
We install, repair, and maintain heating & furnace systems with expert care to keep your Colorado home comfortable and energy-efficient year-round.
Our Primary Heating Services Include:
- Heating Installation
- Heating Replacement
- Heating Maintenance
- Heating Repair
- Heating Service
- Heating Tune-Up
Don't see the service you need? Call our Team today!