Why Proper Lighting Fixture Installation Matters for Your Home
A new lighting fixture installation can instantly transform any room with better illumination and style. Whether you're replacing an old ceiling light or adding a chandelier, the right approach ensures safety and success.
This guide is brought to you by Veteran Heating, Cooling, Plumbing & Electric—your local, veteran-led home services team.
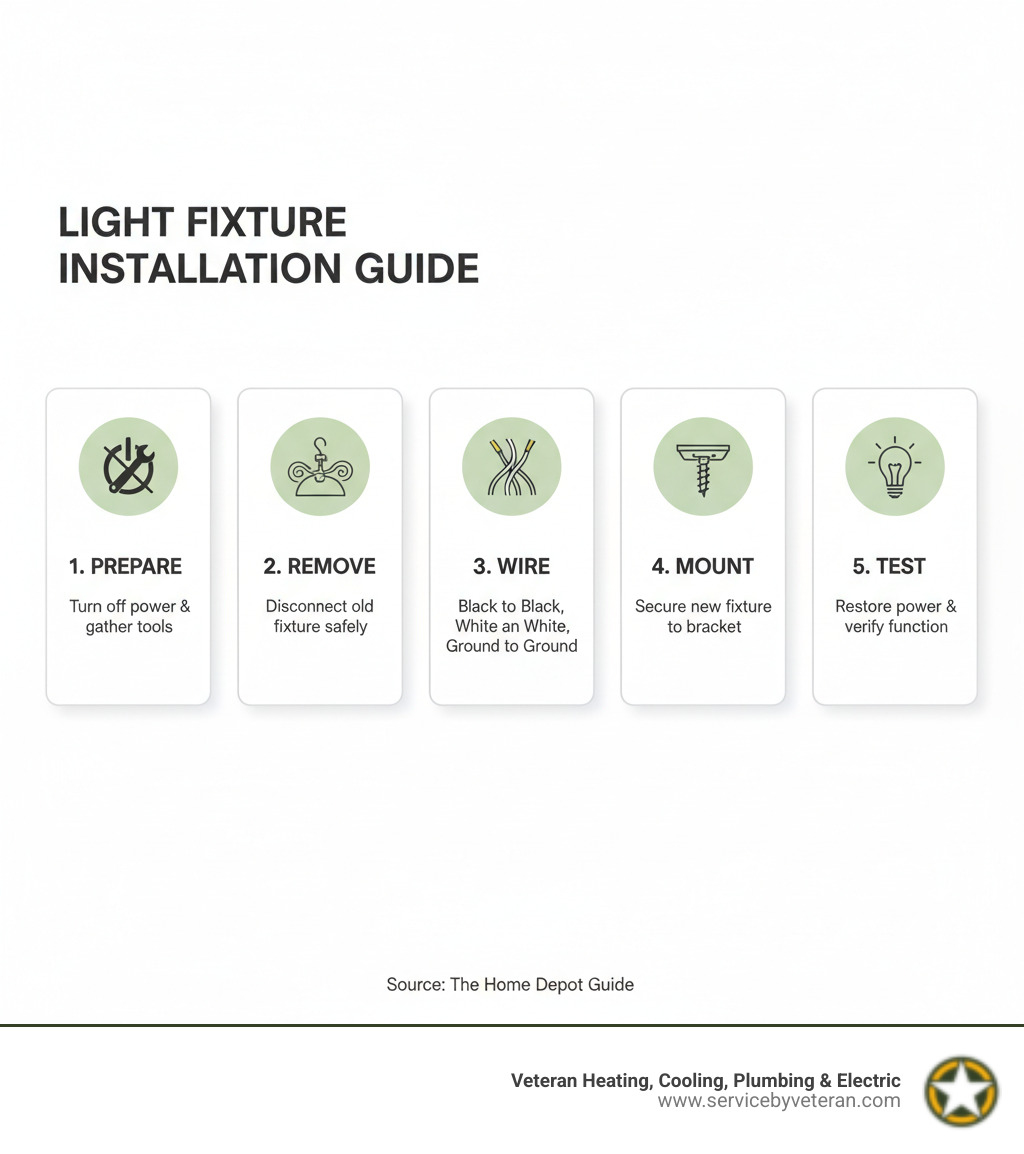
Essential Steps for Safe Light Fixture Installation:
- Turn off power at the circuit breaker and verify with a voltage tester.
- Remove the old fixture by disconnecting wires and unscrewing it.
- Install the new mounting bracket and check electrical box support.
- Connect wires correctly: black to black (hot), white to white (neutral), and ground to ground.
- Mount the new fixture securely and test its functionality.
Most lighting fixture installation projects take 30 minutes to 2 hours. Professional installation typically costs between $100-$650, with a national average of around $400.
Key safety reminder: Always turn off power at the electrical panel, not just the wall switch, before beginning any electrical work.
I'm Mike Townsend. My eight years in the U.S. Army working on precision electrical systems taught me that safety and attention to detail are non-negotiable. Now, as the leader of a veteran-owned home services company, I bring that same precision to every lighting fixture installation.
Preparation: Tools, Materials, and Safety First
Proper preparation is the key to a smooth and successful lighting fixture installation. My military background taught me that good prep prevents poor performance, which is especially true when working with electricity. Before you begin, let's gather your tools and review critical safety measures. For more information on electrical safety, you can visit the Electrical Safety Foundation International (ESFI).
Essential Tools & Materials
Assembling your tools is like preparing a mission-ready kit. Most of these items will cost between $50 to $100 if you're starting from scratch and will be useful for future home projects.
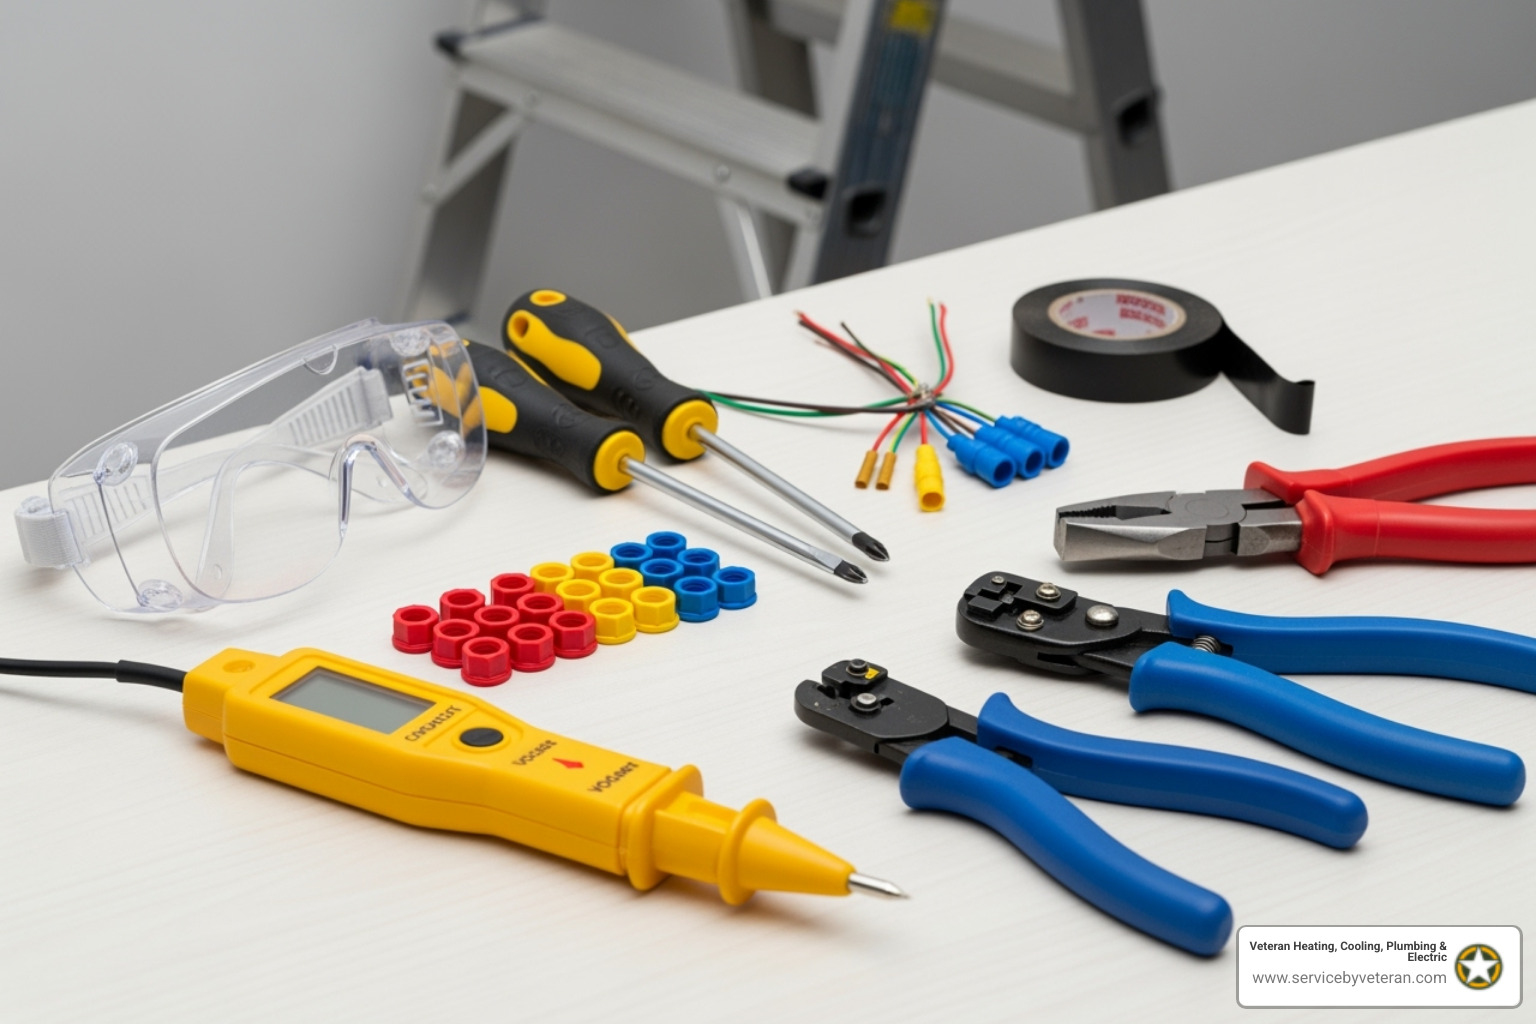
- New light fixture and bulbs: Check the fixture's specs for the correct bulb type and wattage.
- Stepladder: For safely reaching ceiling fixtures.
- Non-contact voltage tester: Essential for verifying the power is off.
- Screwdrivers: Both Phillips and flat-head.
- Wire strippers and pliers: For preparing wires and working in tight spaces.
- Wire nuts and electrical tape: Use new wire nuts for secure connections. These supplies cost around $5 to $20.
- Safety gear: Safety goggles and work gloves are a must.
Critical Safety Precautions
Electricity doesn't give second chances. Always prioritize safety.
- Turn off the power at the circuit breaker panel, not just the wall switch. Find the breaker for your light circuit and switch it off.
- Verify the power is off with a voltage tester. Touch the tester to each wire in the electrical box. No light or sound from the tester means it's safe to proceed. This step is non-negotiable.
- Use your ladder safely. Ensure it's on stable ground and avoid overreaching. Get a helper for heavy fixtures.
- Wear safety goggles to protect your eyes from dust and debris.
Checking Your Junction Box for a Safe Lighting Fixture Installation
The electrical junction box in your ceiling contains the wiring and supports your fixture's weight. Most standard boxes support up to 50 pounds, which is fine for most flush-mount or pendant lights. However, if you're installing a chandelier or heavy fixture over 50 pounds, you must upgrade to a heavy-duty box braced to a ceiling joist.
Replace the box if it's damaged, too small, or can't handle the weight. If you're uncertain about your box's capacity, it's time to call a professional. Better to be safe than have a fixture fall from the ceiling.
The Step-by-Step Lighting Fixture Installation Process
With the power off and your tools ready, it's time to install your new fixture. Take your time and follow these steps carefully.
Step 1: Removing the Old Fixture
First, confirm the power is off by flipping the light switch for the fixture you're removing. It should not turn on.
Support the old fixture's weight, especially if it's heavy. Unscrew the decorative canopy to expose the wiring. Before disconnecting anything, take a quick photo of the wire connections for reference. Carefully twist off the wire nuts to separate the fixture wires from the house wires. You'll typically see black (hot), white (neutral), and green or bare copper (ground) wires. Finally, unscrew the old mounting bracket from the electrical box and remove the fixture.
Step 2: Wiring Your New Light Fixture
This step requires precision. Start by installing the new mounting bracket that came with your fixture, securing it firmly to the electrical box.
Next, prepare the wires. If the ends of the house wires are frayed, use wire strippers to trim them and expose about 3/4 of an inch of fresh wire. Now, connect the wires according to their color code:
- Black to Black (Hot): Carries the electrical current.
- White to White (Neutral): Completes the circuit.
- Green/Bare Copper to Green/Bare Copper (Ground): The safety wire.
Twist the bare ends of matching wires together clockwise, then screw on a new wire nut until it's snug. Give each connection a gentle tug to ensure it's secure. For extra protection, wrap electrical tape around each wire nut and connection. Carefully tuck all the wires back into the electrical box.
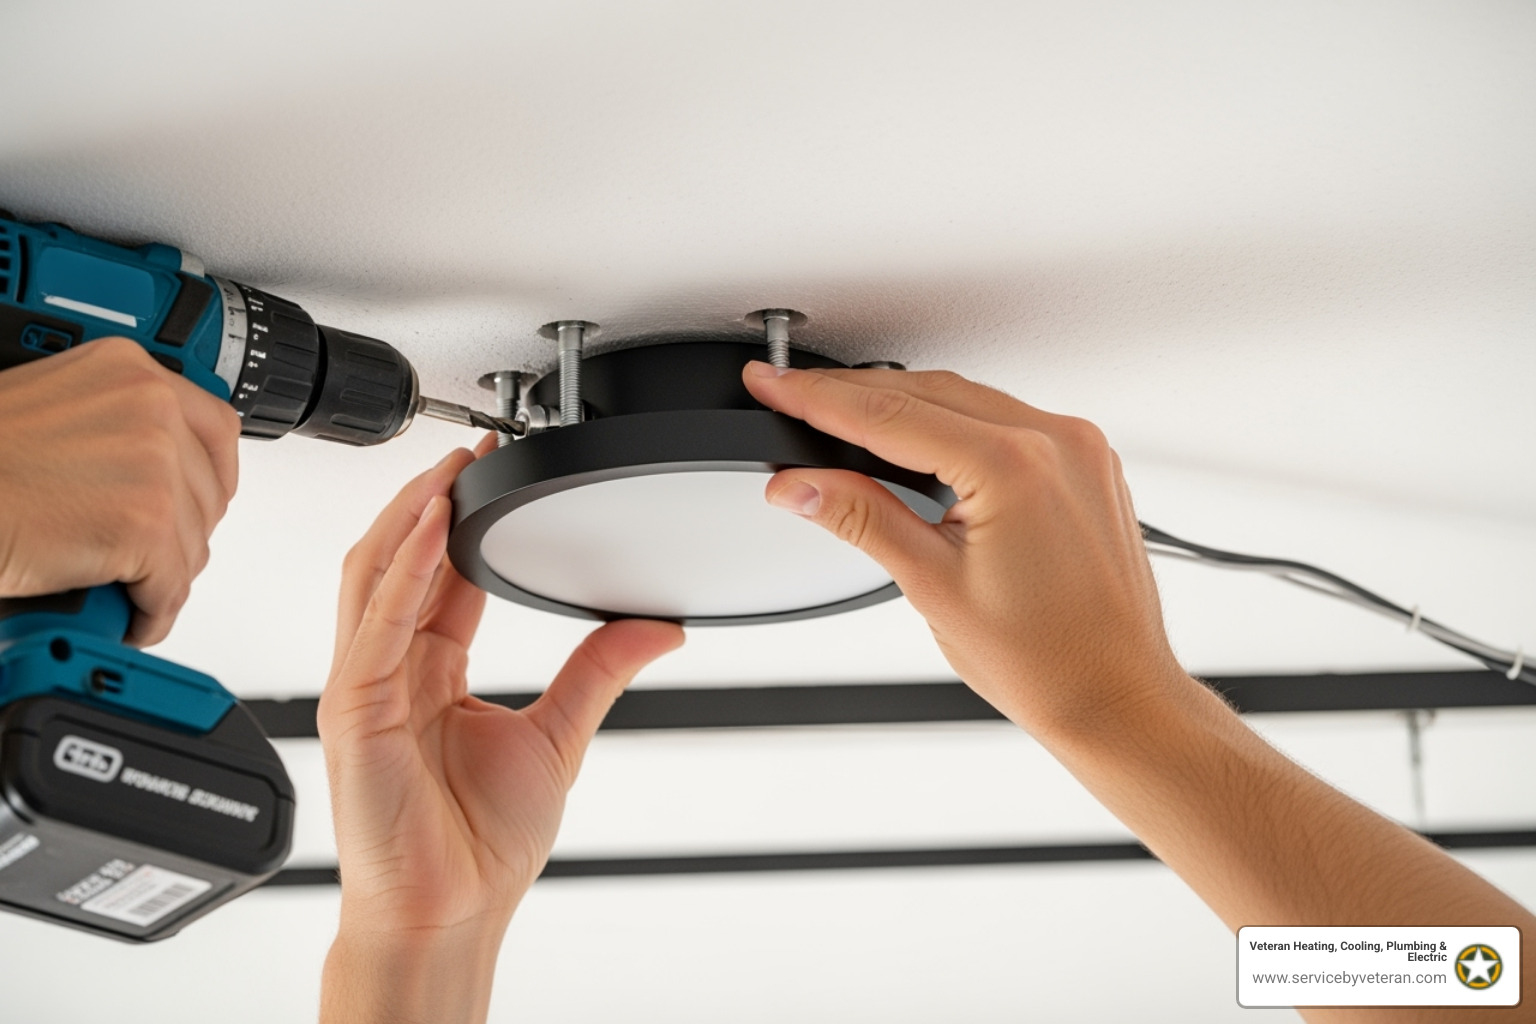
Step 3: Mounting and Finishing the Installation
You're almost done! Carefully lift the new fixture and attach it to the mounting bracket using the provided screws. If you're installing a pendant or chandelier, adjust the chain or cord length first.
Slide the canopy up to the ceiling to cover the wiring and secure it with the provided nuts or screws. Install the correct light bulbs, making sure not to exceed the fixture's maximum recommended wattage.
Now for the moment of truth. Go back to your circuit breaker and flip it to the "ON" position.
Test your light by flipping the wall switch. If it lights up, congratulations! You've successfully completed your lighting fixture installation. If not, don't worry; our next section covers troubleshooting.
Common Challenges and Fixture-Specific Tips
Even with careful planning, a lighting fixture installation can present challenges. Most issues have simple solutions. Let's review common problems and tips for different fixture types.
Troubleshooting Your Lighting Fixture Installation
If the light doesn't turn on, run through this checklist before calling for help:
- Check the bulb: Is it screwed in tightly? Is it a new, working bulb?
- Check the connections: Turn the power off at the breaker again. Are the wire nuts tight? A loose wire is a common cause of failure or flickering.
- Check the breaker: Did it trip? If so, push it fully to "off" before flipping it back to "on."
Flickering lights usually indicate a loose connection. Buzzing or humming can be normal for some LED/dimmer combinations but can also signal a loose wire.
Installation Considerations for Different Fixtures
Different fixtures have unique installation needs. Always read the manufacturer's instructions.
- Pendant lights: The key is height adjustment. Hang them 30-36 inches above a surface like a kitchen island.
- Chandeliers: Weight is the main concern. If it's over 50 pounds, you need a heavy-duty, braced electrical box.
- Flush-mount and semi-flush lights: These are straightforward. Just be careful not to pinch any wires when mounting the base to the ceiling.
- Wall sconces: Mount them at or slightly above eye level to avoid glare. Use a level to ensure they're straight.
- Recessed lighting: If your ceiling has insulation, you must use IC-rated (Insulation Contact) fixtures to prevent a fire hazard.
- Track lighting: Offers great flexibility from a single electrical connection point.

When in doubt, calling a professional is the safest choice.
DIY vs. Professional Installation: Costs and When to Call for Help
A straightforward lighting fixture installation can be a rewarding DIY project. However, knowing when to call in the pros is about safety, not just saving money. Some jobs require the expertise that comes with years of training.
Understanding the Costs
- DIY Route: If you need tools, expect to spend $50 to $100 for a basic electrical kit. Supplies like wire nuts and tape are affordable at $5 to $20. The main cost is your time.
- Professional Installation: Hiring an electrician typically costs between $100 to $650, with a national average of around $400. Most electricians charge $50 to $100 per hour, and a standard installation takes 1-3 hours. Adding a fixture where no wiring exists will cost significantly more.
Here are some average installed costs, which can vary by location and complexity:
Fixture TypeCost Per FixtureTotal Installed CostsCeiling Lights$25 - $100$65 - $250Recessed Lights$45 - $100$125 - $300Pendant Lights$45 - $250$100 - $300Chandeliers$115 - $1,400$215 - $3,400
When to Call a Professional Electrician
In the Army, we learned to know our limits. The same applies to electrical work. Call a licensed professional in these situations:
- Installing a fixture in a new location: This involves running new wiring and must meet local building codes.
- Heavy fixtures over 50 pounds: These require a special heavy-duty, braced junction box.
- Old or aluminum wiring: Homes built between 1965-1973 may have aluminum wiring, which requires special handling to prevent fire hazards.
- Complex wiring: Scenarios involving dimmers or 3-way/4-way switches can be tricky.
- High ceilings or wet locations: These jobs require special equipment and safety protocols (like GFCI protection in bathrooms).
- If you feel unsure at any point: Your safety is worth more than the cost of a service call. A pro will also handle any necessary permits.
At Veteran Heating, Cooling, Plumbing & Electric, our experienced electricians serve the entire Front Range, from Denver to Boulder. We handle all types of lighting fixture installations and back our work with a lifetime warranty. If you need professional help, contact us for a quote.
Frequently Asked Questions about Light Fixture Installation
Here are answers to the most common questions we hear about lighting fixture installation from homeowners across the Denver metro area.
Does it matter which wire goes where on a light fixture?
Yes, it is absolutely crucial. Proper wiring is essential for safety and function. Incorrect connections can create a fire hazard or cause electrical shorts. The rule is simple: black connects to black (hot), white connects to white (neutral), and the green or bare copper wire connects to the ground. On some fixtures, you may see "L" for Line (black) and "N" for Neutral (white).
Can I install a heavy chandelier where a small, lightweight fixture was?
Not without checking the electrical box first. A standard ceiling box is typically rated to support only up to 50 pounds. If your chandelier weighs more, you must upgrade to a heavy-duty electrical box that is properly braced to a ceiling joist. This prevents your expensive fixture from crashing down.
What should I do if my house has old, two-wire (no ground) wiring?
Many homes built before the 1960s have two-wire systems (just black and white wires). You can still install a new fixture by connecting the hot and neutral wires as usual. However, the fixture will not be grounded, which is a modern safety feature. If your electrical box is metal and is itself grounded, you can often connect the fixture's ground wire directly to the metal box with a green ground screw. If you're unsure about this or other aspects of older wiring, it's safest to consult a professional electrician.
Illuminate Your Home with Confidence
Stepping back to admire a new lighting fixture installation is a great feeling. The key to success is prioritizing safety, preparing properly, and double-checking your work.
Remember the fundamentals: always turn off power at the breaker and verify with a voltage tester. Match wire colors correctly: black to black, white to white, and ground to ground. Finally, ensure your electrical box can support your new fixture's weight.
Knowing your limits is wisdom, not weakness. If you encounter complex situations like running new wiring, dealing with old aluminum wires, or installing a heavy chandelier, it's time to call in a professional. Our veteran-led team has seen it all in homes across the Front Range.
For complex jobs or any time you want the peace of mind that comes with our lifetime warranty, explore our expert electrical services. We bring military precision to every job because your family's safety and satisfaction are our top priority.
ABOUT Veteran Heating, Cooling, Plumbing & Electric
Veteran Heating, Cooling, Plumbing & Electric was founded on the belief that service should be personal, honest, and community-focused. Our team is built around integrity, professionalism, and a true commitment to your home’s comfort and safety.
Led by a U.S. Army veteran with over 30 years of industry experience, we’re proud to remain locally owned and operated. Every technician, plumber, and electrician is EPA-certified, background checked, and driven to exceed expectations.
- 24/7 ServiceWe offer weekend & 24/7 emergency service. We’re here whenever you need us—day, night, or weekend, no exceptions.
- $0 Trip FeesNo dispatch or trip fees. You’ll never pay just for us to show up—service starts when the work does.
OUR SERVICES
AIR CONDITIONING
.jpg)
We offer specialty and seasonal services like indoor air quality upgrades, pre-winter furnace checks, and summer AC tune-ups to keep your home prepared year-round.
Our Primary Air Conditioning Services Include:
Don't see the service you need? Call our Team today!
PLUMBING
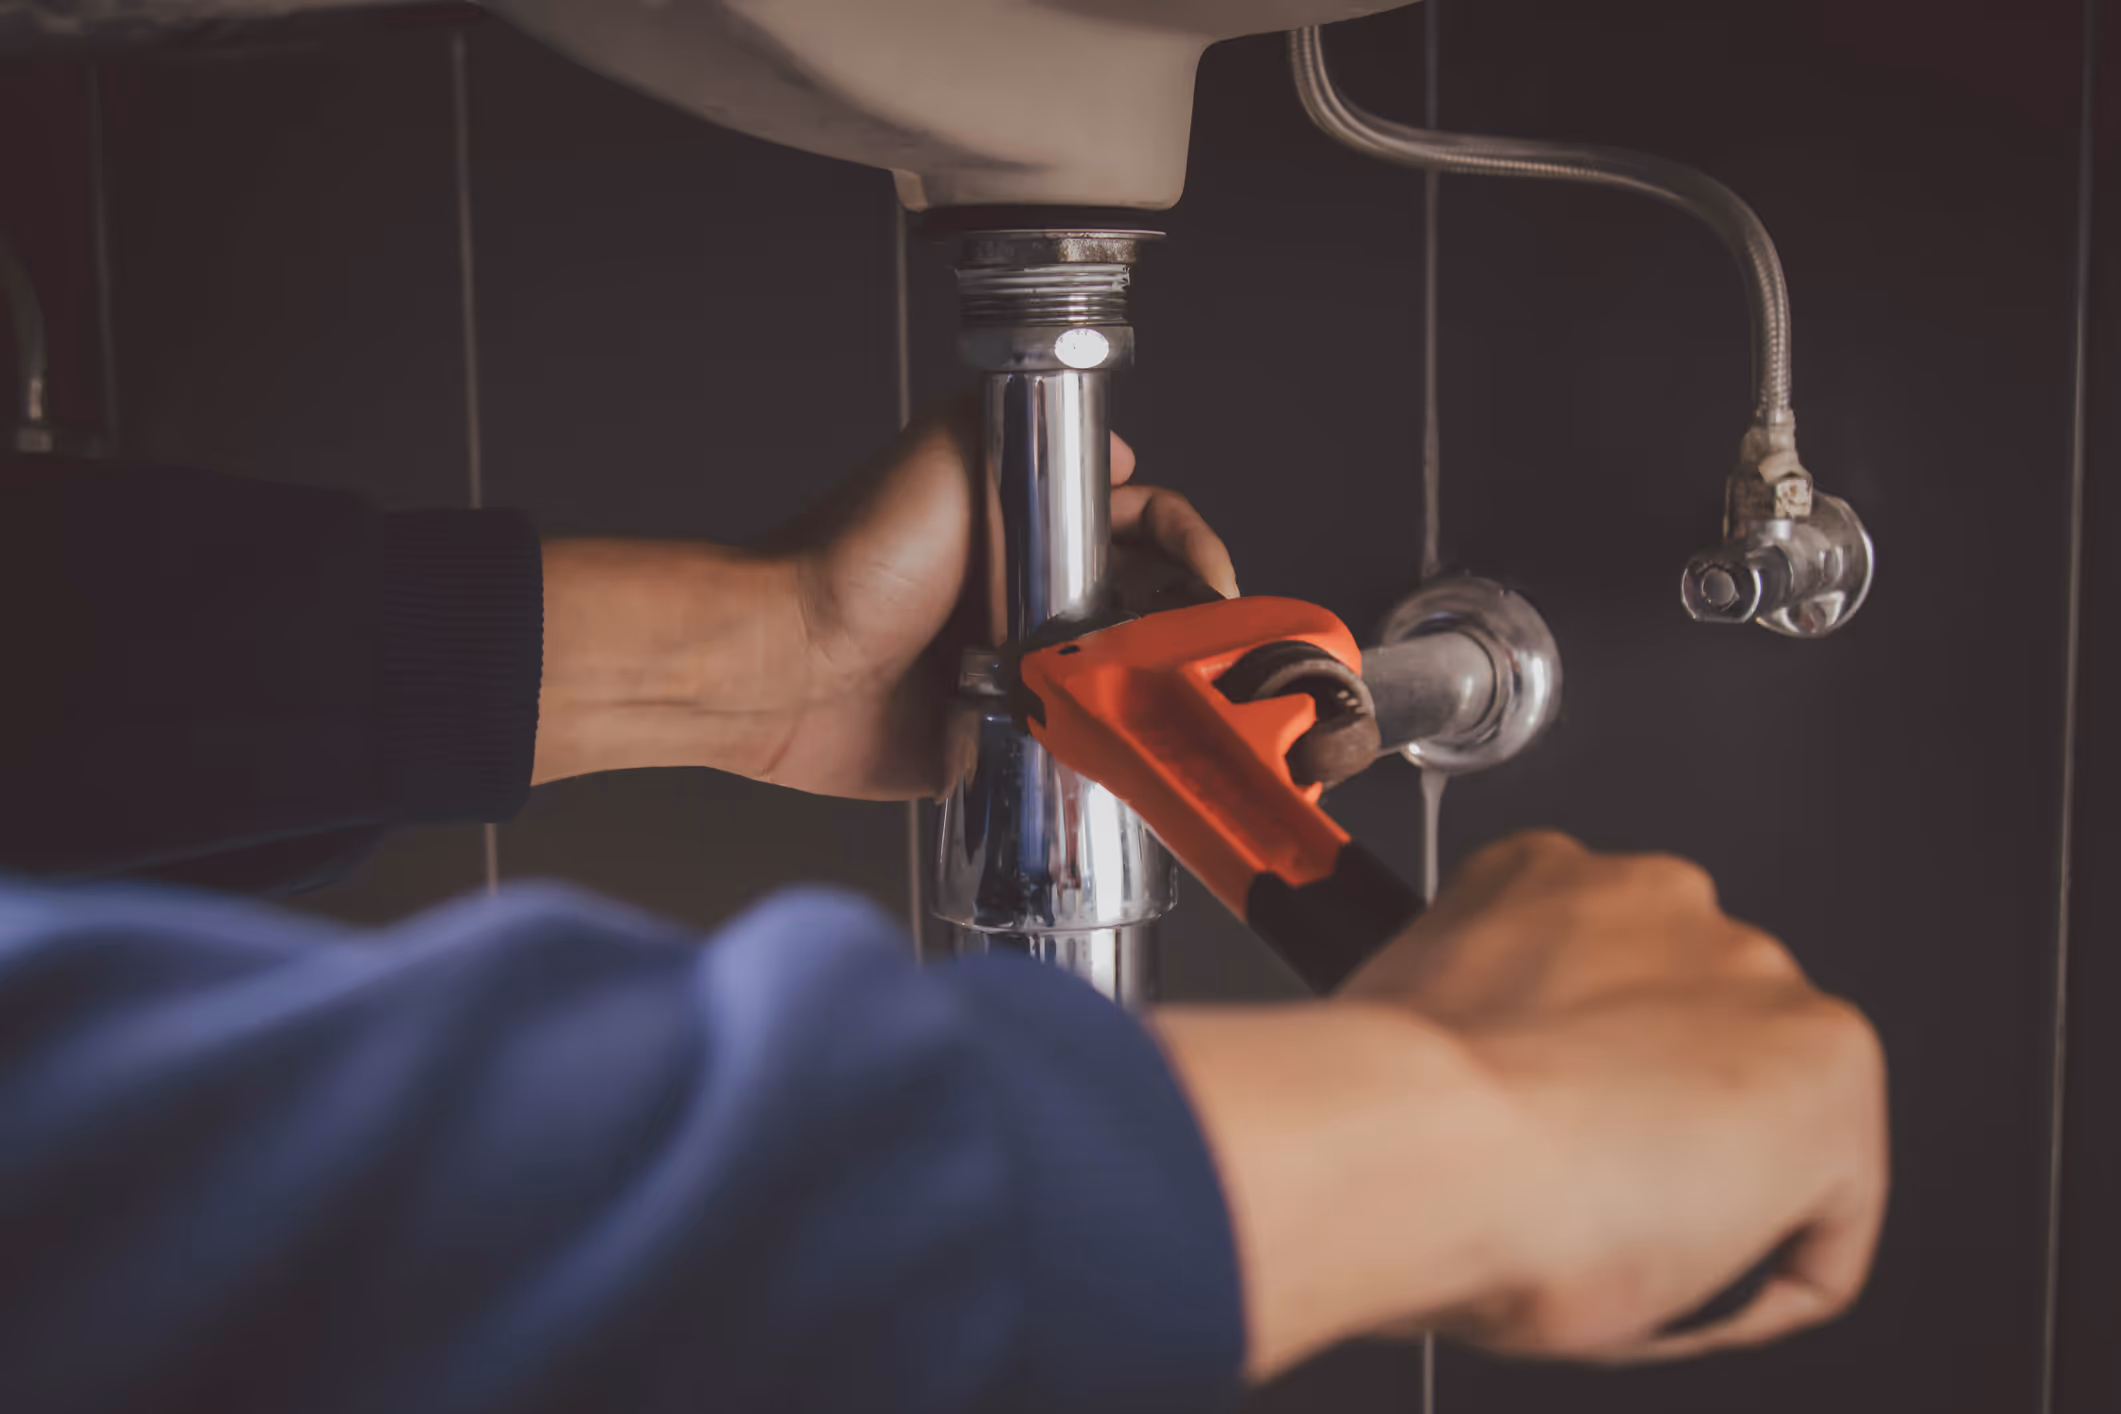
From leaks to full system installs, our plumbing services cover everything you need for a safe, reliable home water system, 24/7.
Our Primary Plumbing Include:
- Water Heater Replacement
- Water Heater Repair
- Trenchless Sewer Line
- Water Filtration
- Slab Leak
- Sewer Line Repair
Don't see the service you need? Call our Team today!
ELECTRICAL

Our electrical services ensure your home stays safe and powered, from routine fixes to complete system upgrades.
Our Primary Electrical Services Include:
- House Rewiring
- Electrician
- Electric Panel Upgrade
- Electric Panel Replacement
- EV Chargers
- Whole House Generator
Don't see the service you need? Call our Team today!
HEATING
.jpg)
We install, repair, and maintain heating & furnace systems with expert care to keep your Colorado home comfortable and energy-efficient year-round.
Our Primary Heating Services Include:
- Heating Installation
- Heating Replacement
- Heating Maintenance
- Heating Repair
- Heating Service
- Heating Tune-Up
Don't see the service you need? Call our Team today!